Ideation · Prototyping · Testing · Development
Introduction
This case study reflects the design process we encountered when Cosentino decided to improve the quality and stability of the services in the private area for clients.
Background
This intervention was urgent due to the errors that the platform was causing. After the decision by Marketing and the business, we decided to start the project.
Our platform is a private area dedicated exclusively to clients and has numerous functionalities for the user, including a side menu with 17 services. Several services were undergoing maintenance and improvement, so this design was applicable to different use cases.
Challenge
Design the best possible experience in a dead-end situation.
Our goal was to inform that the functionality would be temporarily disabled.
Our second goal was to redirect the user to the most frequently used services by the community. This way, we prevent the user from ending their journey.
Have you ever experienced frustration and abandonment when a platform you were using was temporarily closed? Let's see how we can solve this situation...
DEFINE AND IDEATE - PHASE 2
2.Ideation and Prototyping
When faced with a problem like disabling a function, we have several alternatives. We can hide the functionality, include an informative tooltip, etc. However, this does not fulfill the objective of offering the best experience.
What if we inform the user and use this challenge to increase the usage of other services?
Great! We used the problem as an opportunity.
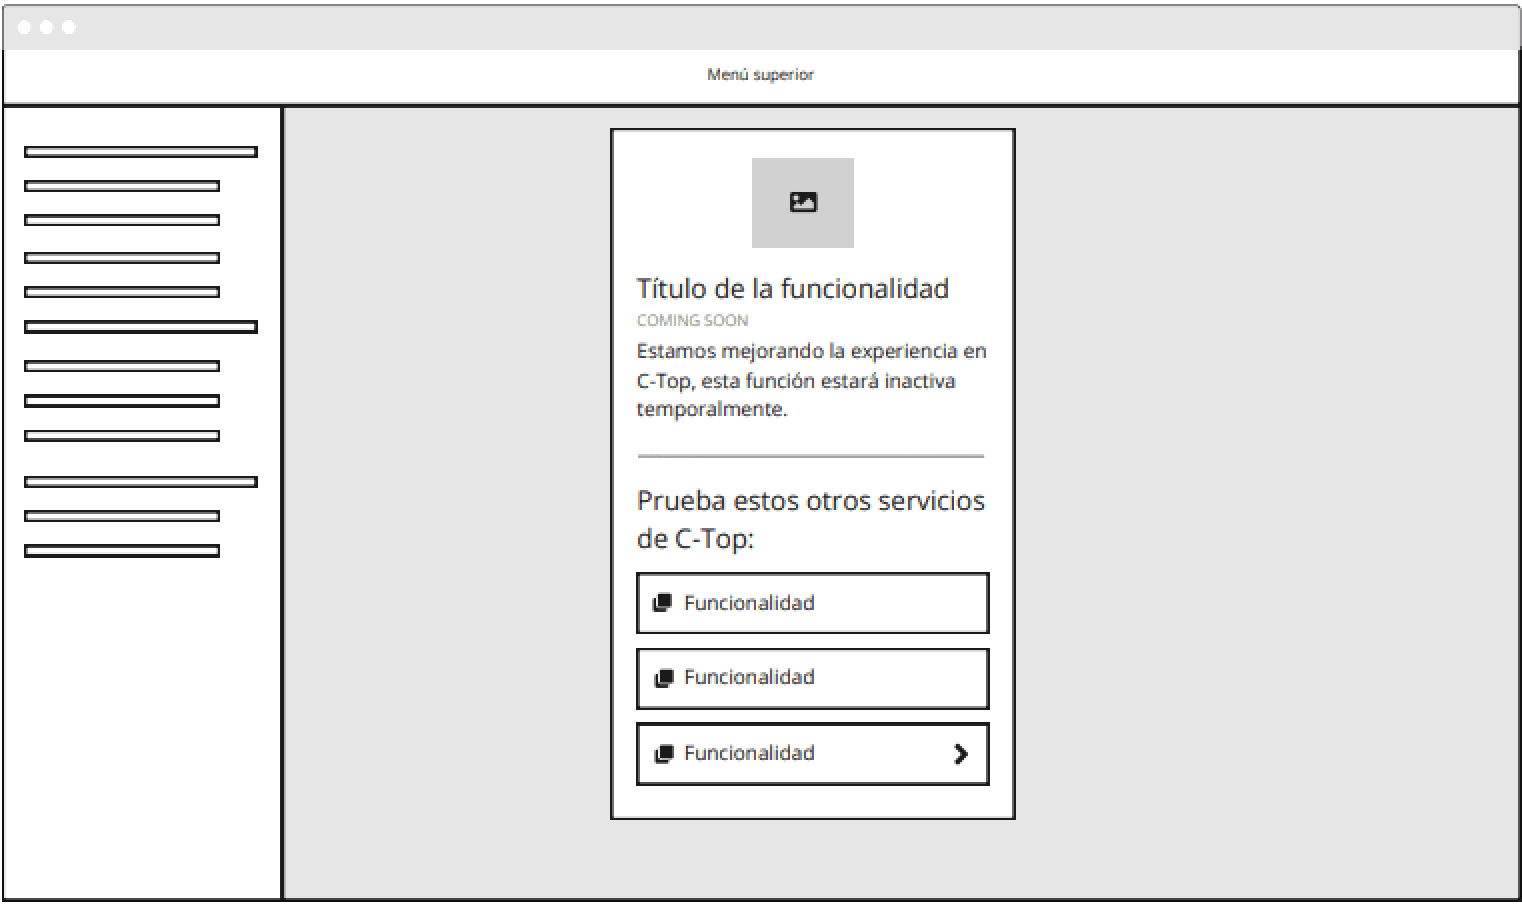
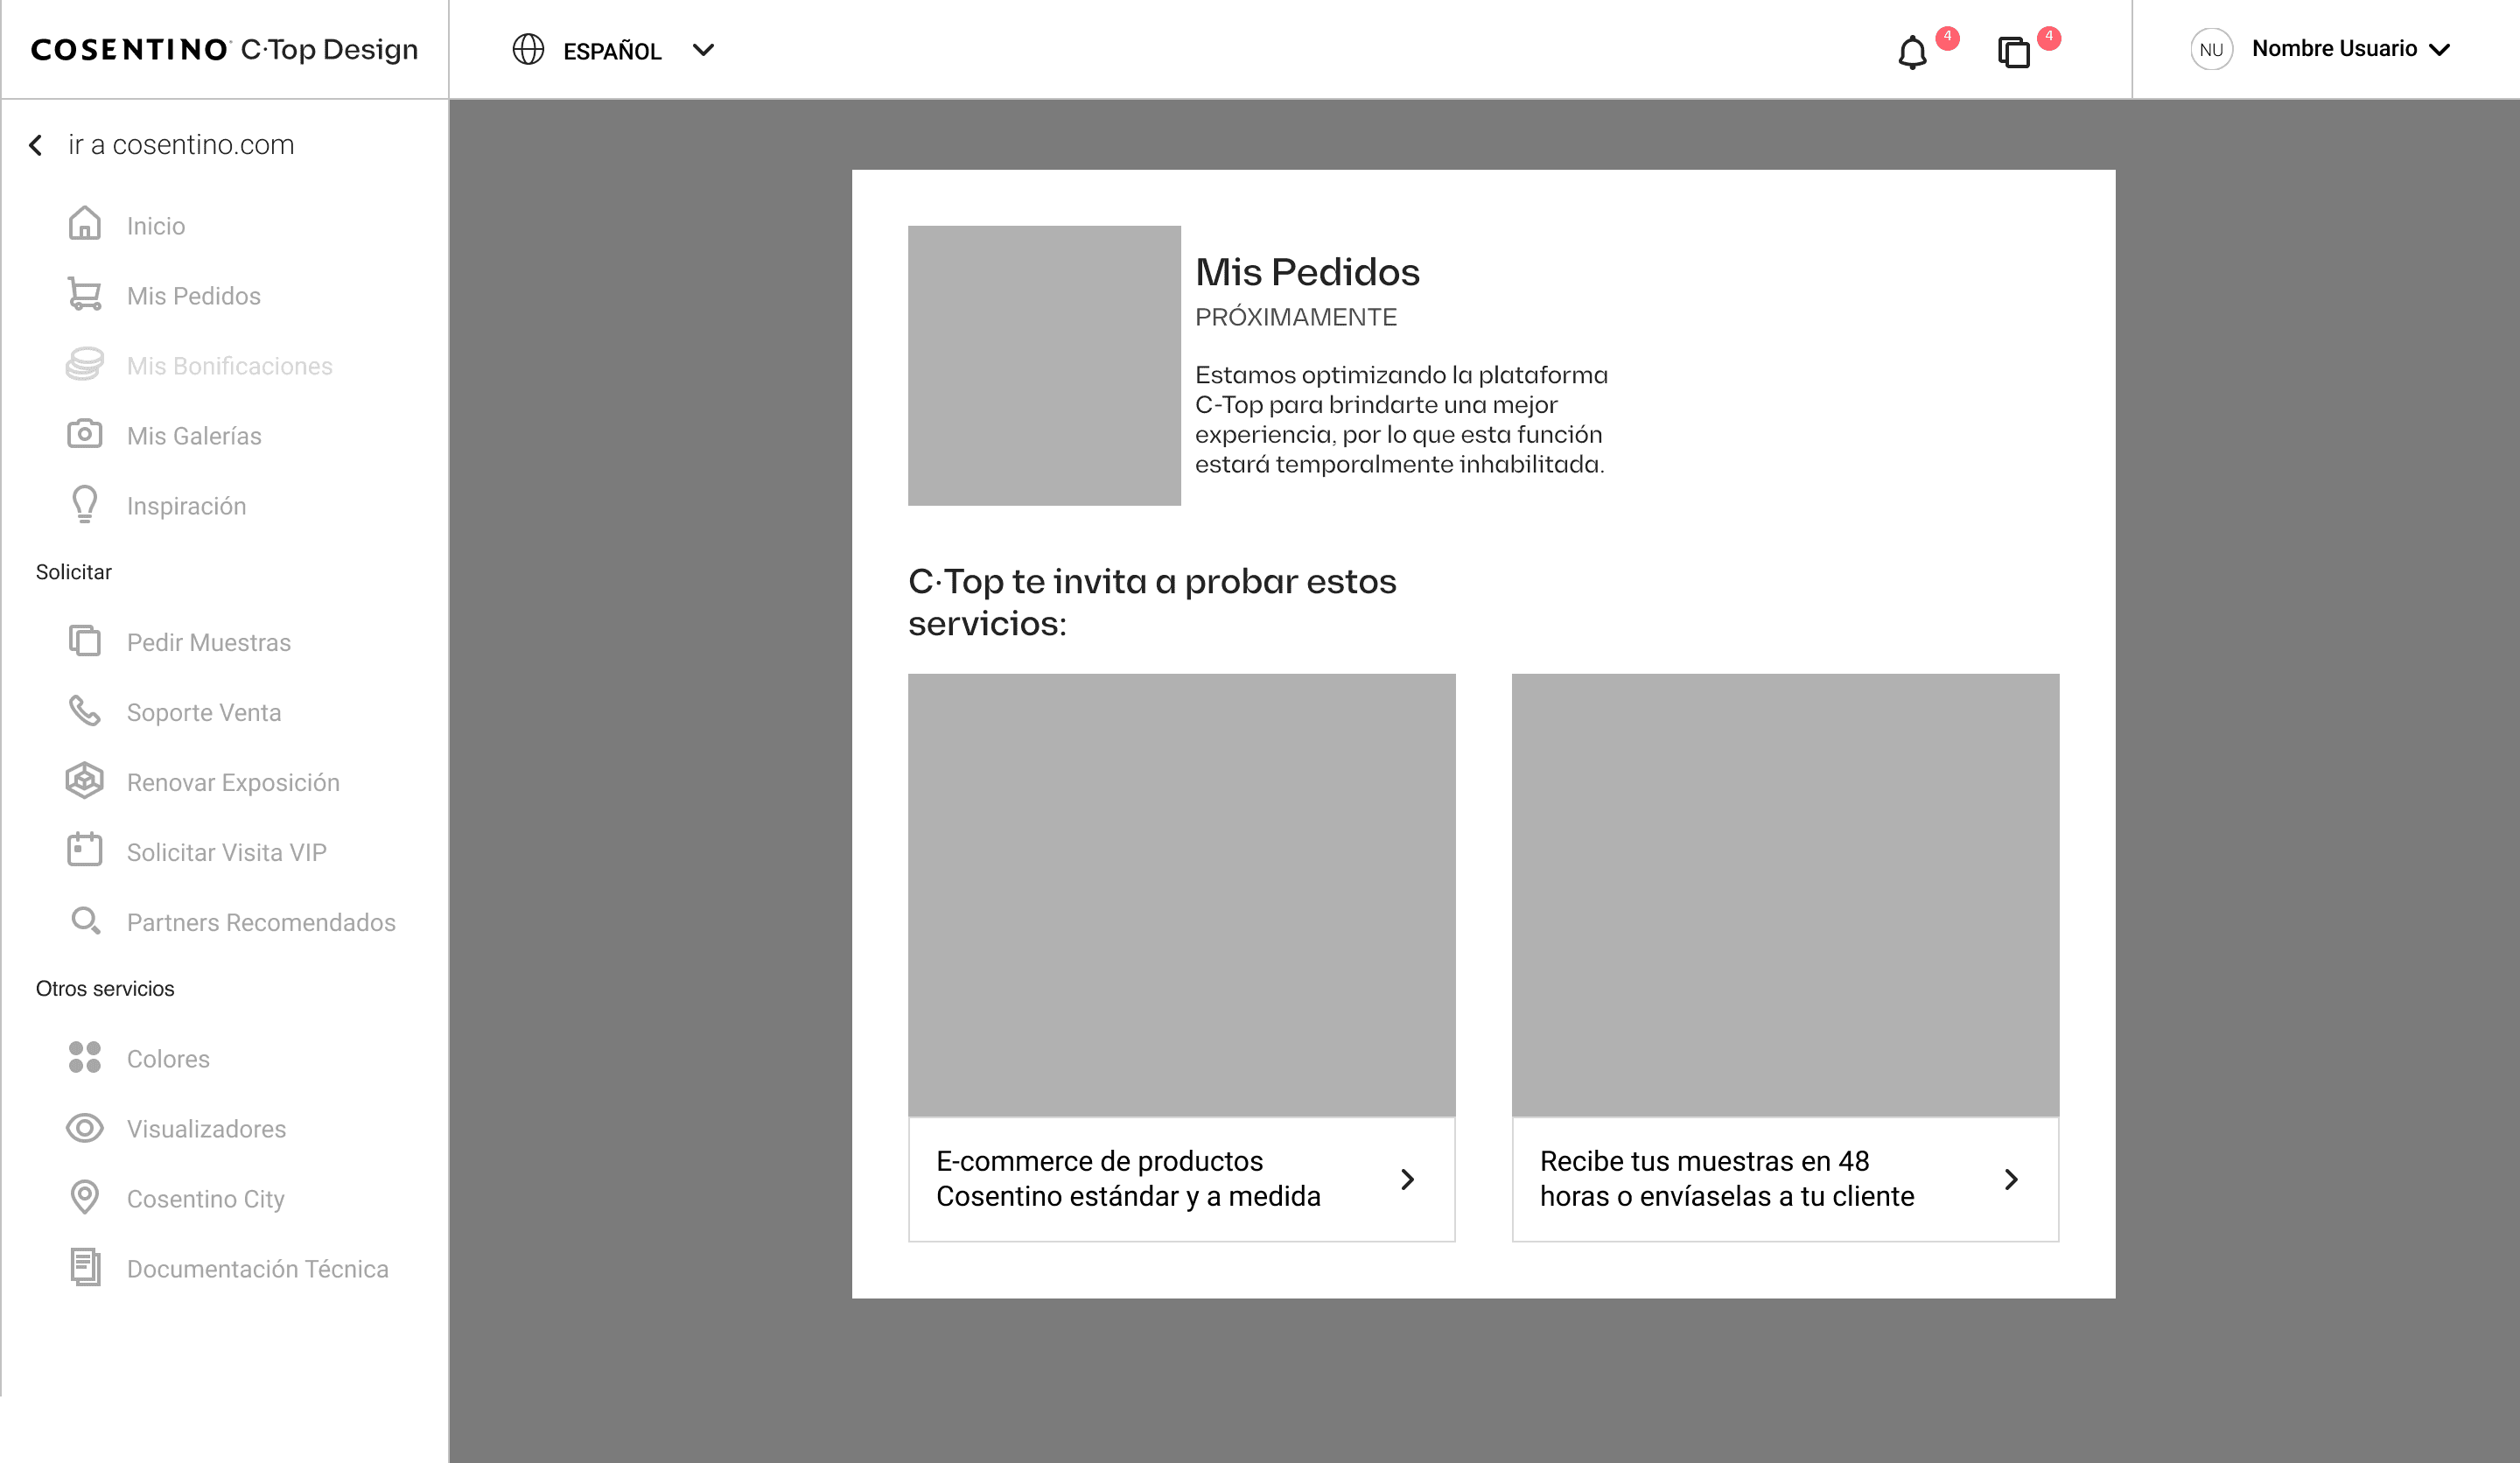
Once we had the idea, we started with low-fidelity prototypes in Miro.
THE SOLUTION
We proposed the idea of displaying an informative modal and the opportunity to use other services. This way, we not only avoid a leakage point but also potentially increase the usage of the rest of the functionalities.
PROTOTYPE - PHASE 3
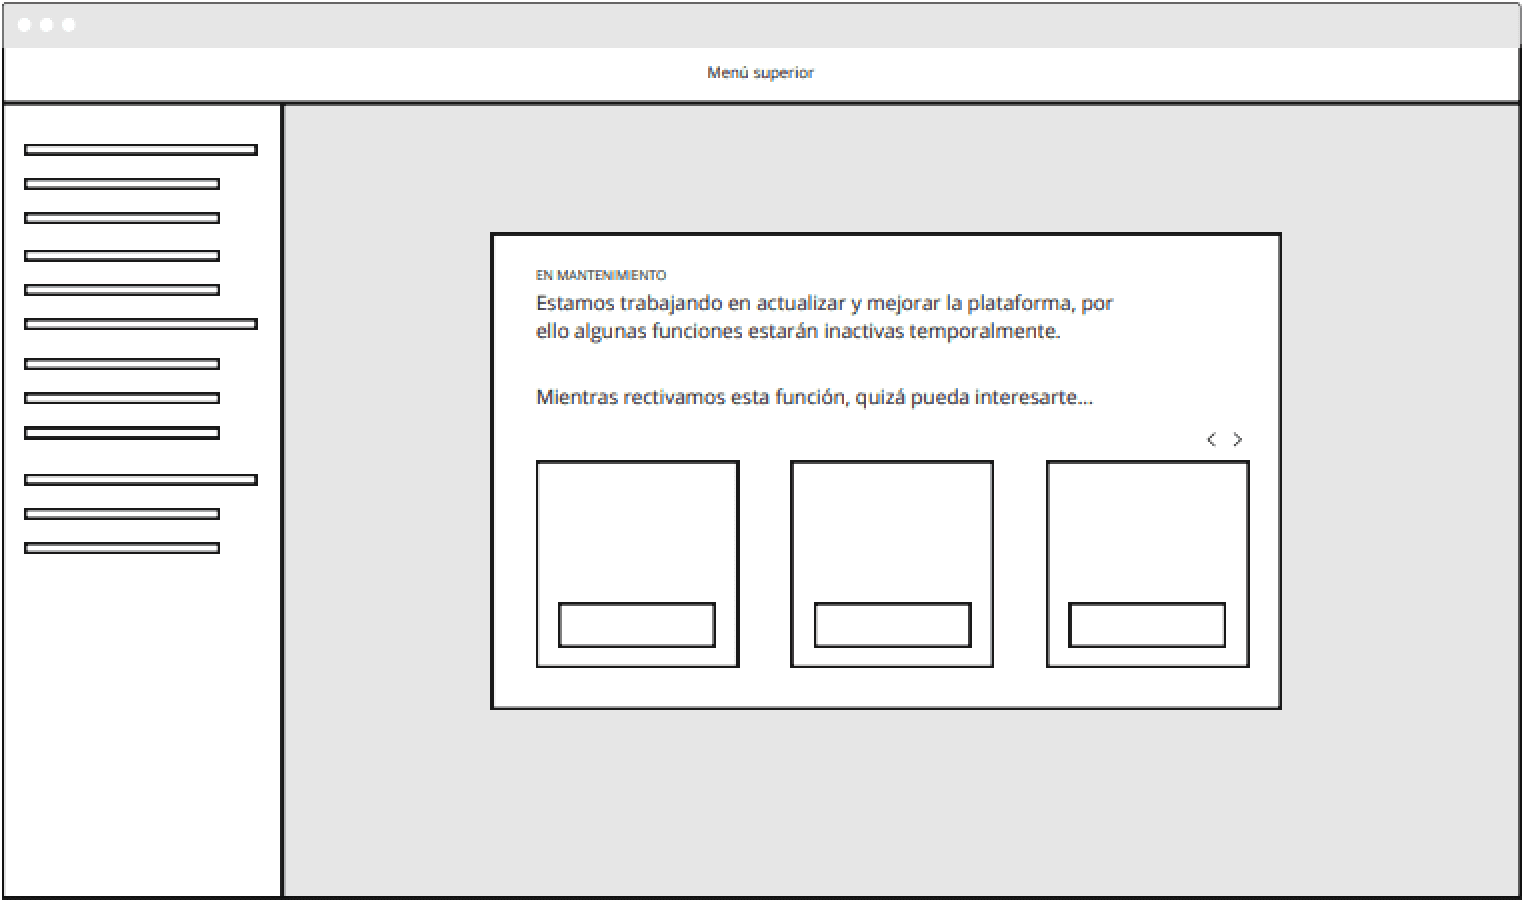
3.Low-Definition Prototyping
Once we had the idea in mind, we took action through prototypes in Miro. The digital tool that allows us to capture our ideas quickly and provides ample room for making changes if needed.
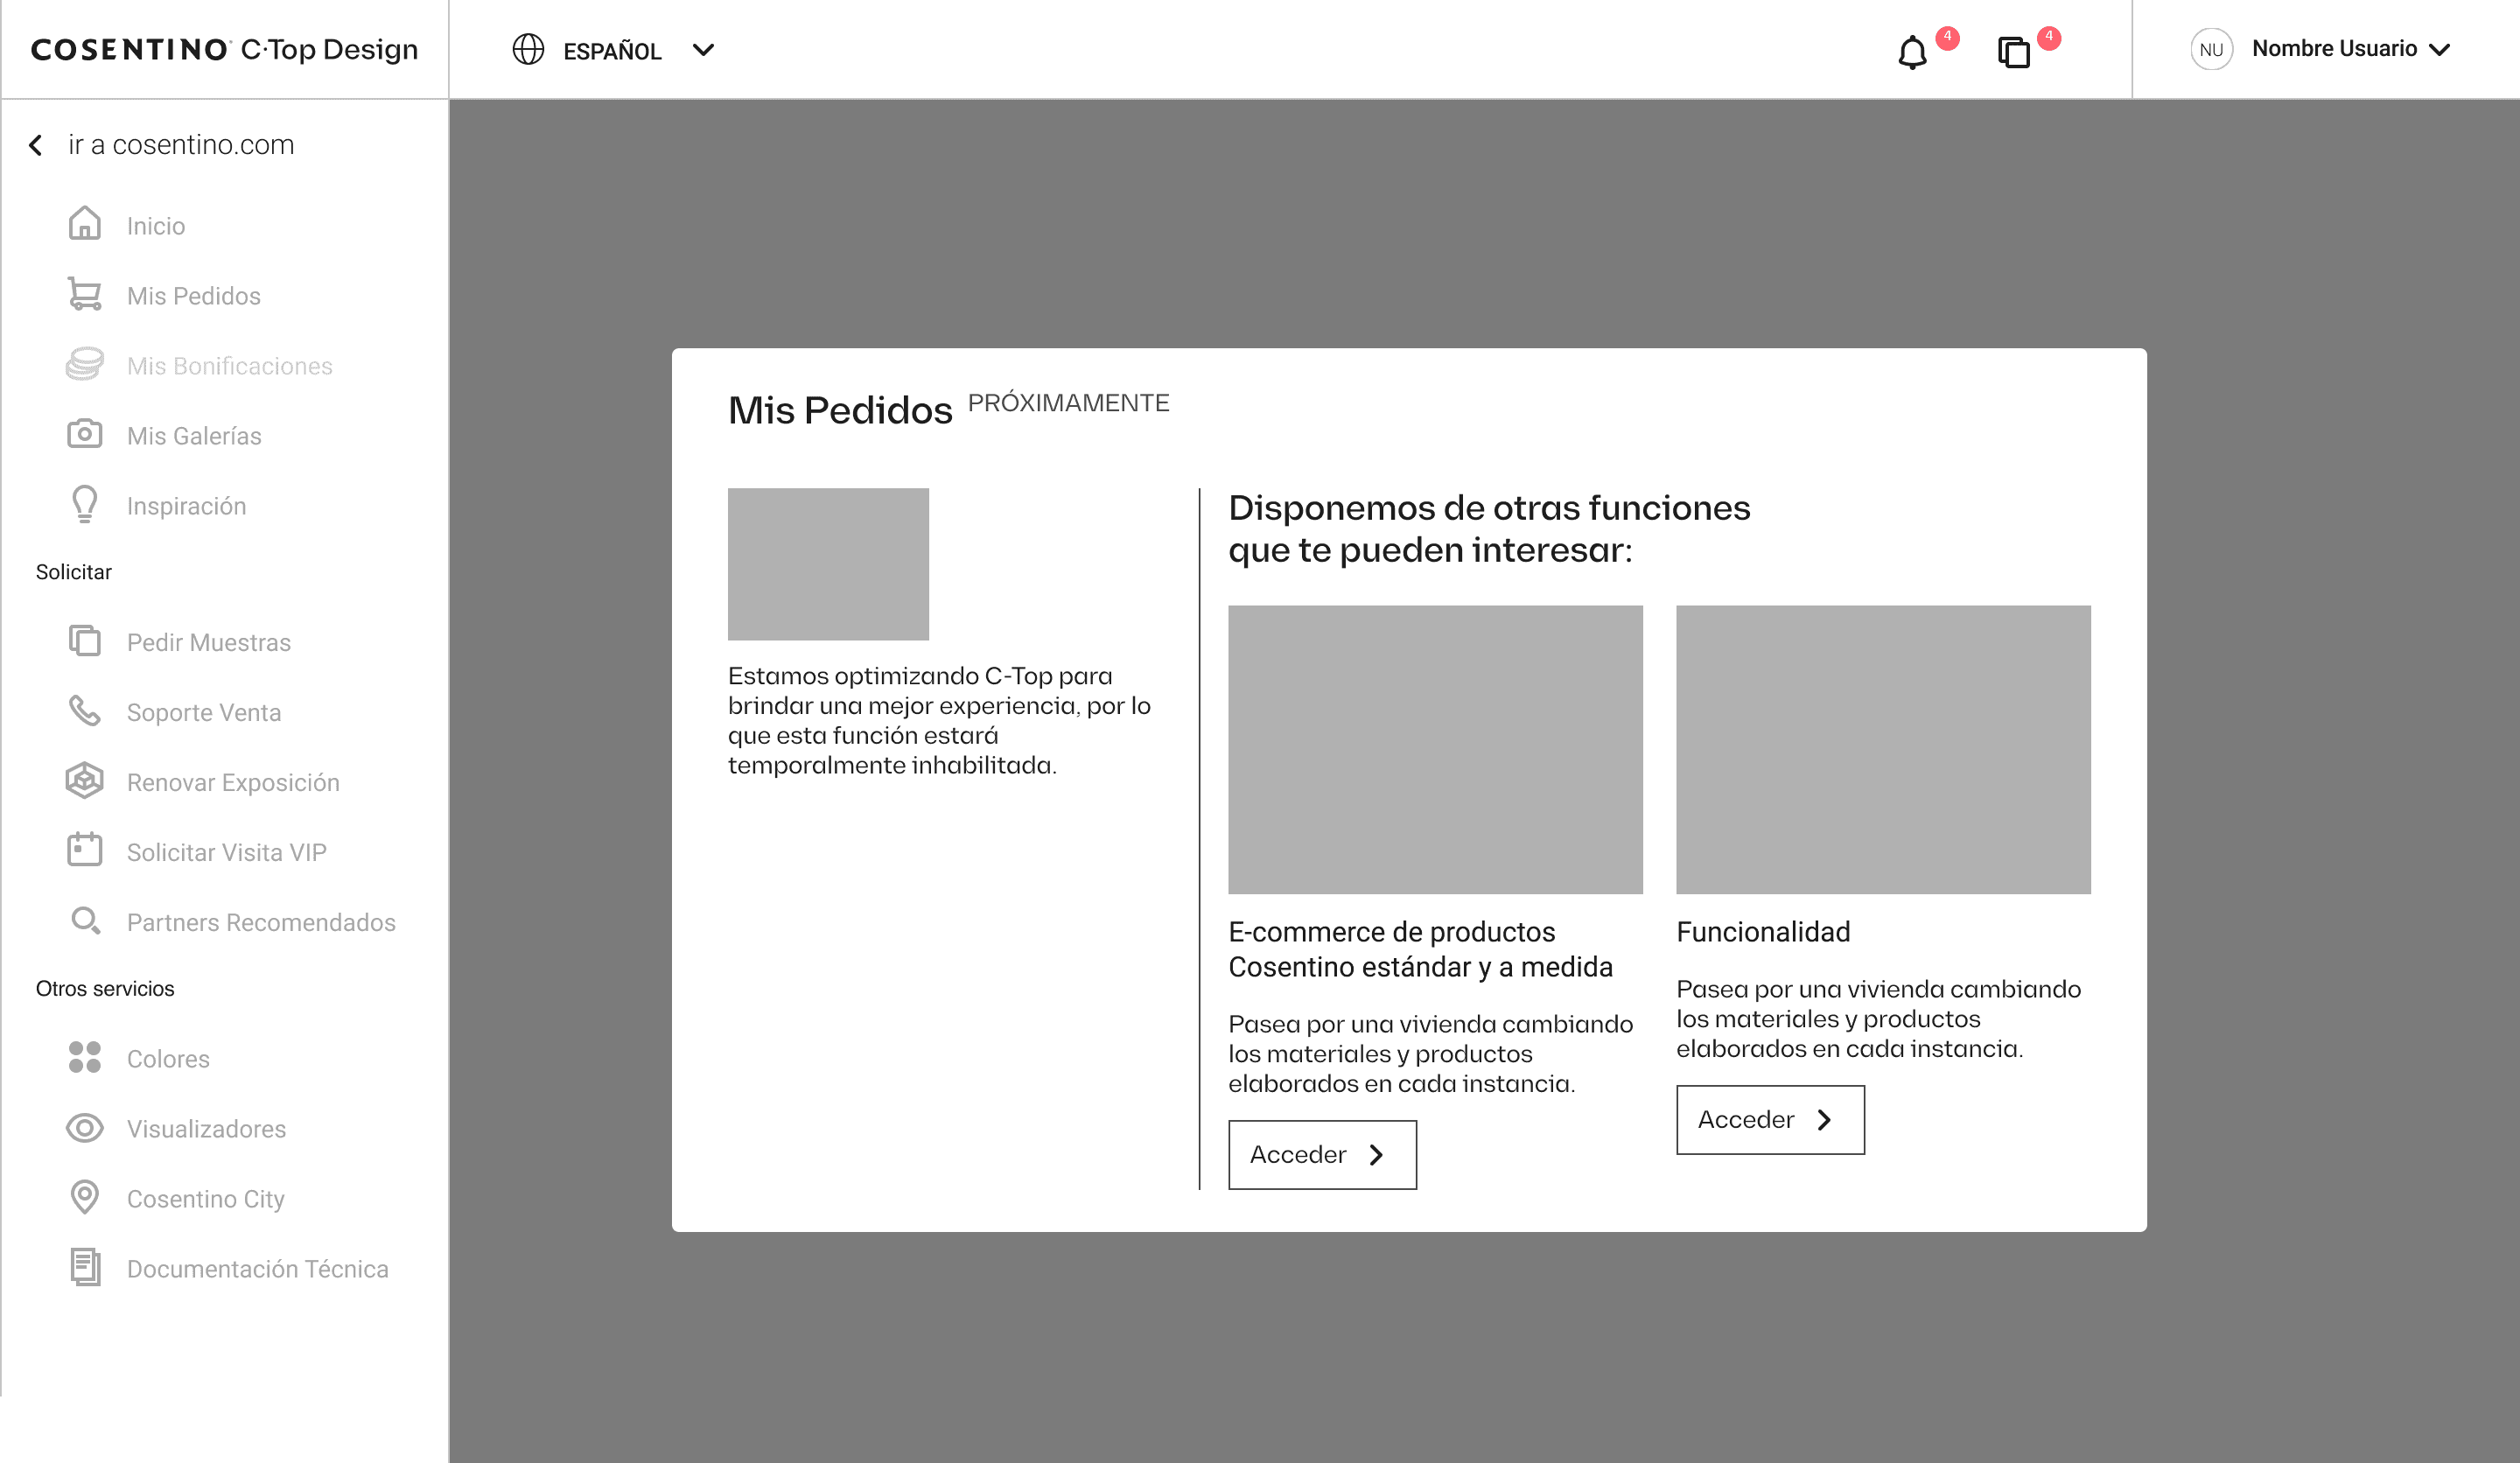
After defining the solution to the challenge we faced, we started testing variations of it. We already had the content and the form. Now, we just needed the final touches to present it in the best visually appealing way and adapted to the company.
Finally, we sent the final deliverable to the stakeholders responsible for the private area. Our design proposal was validated and scheduled by the development team.
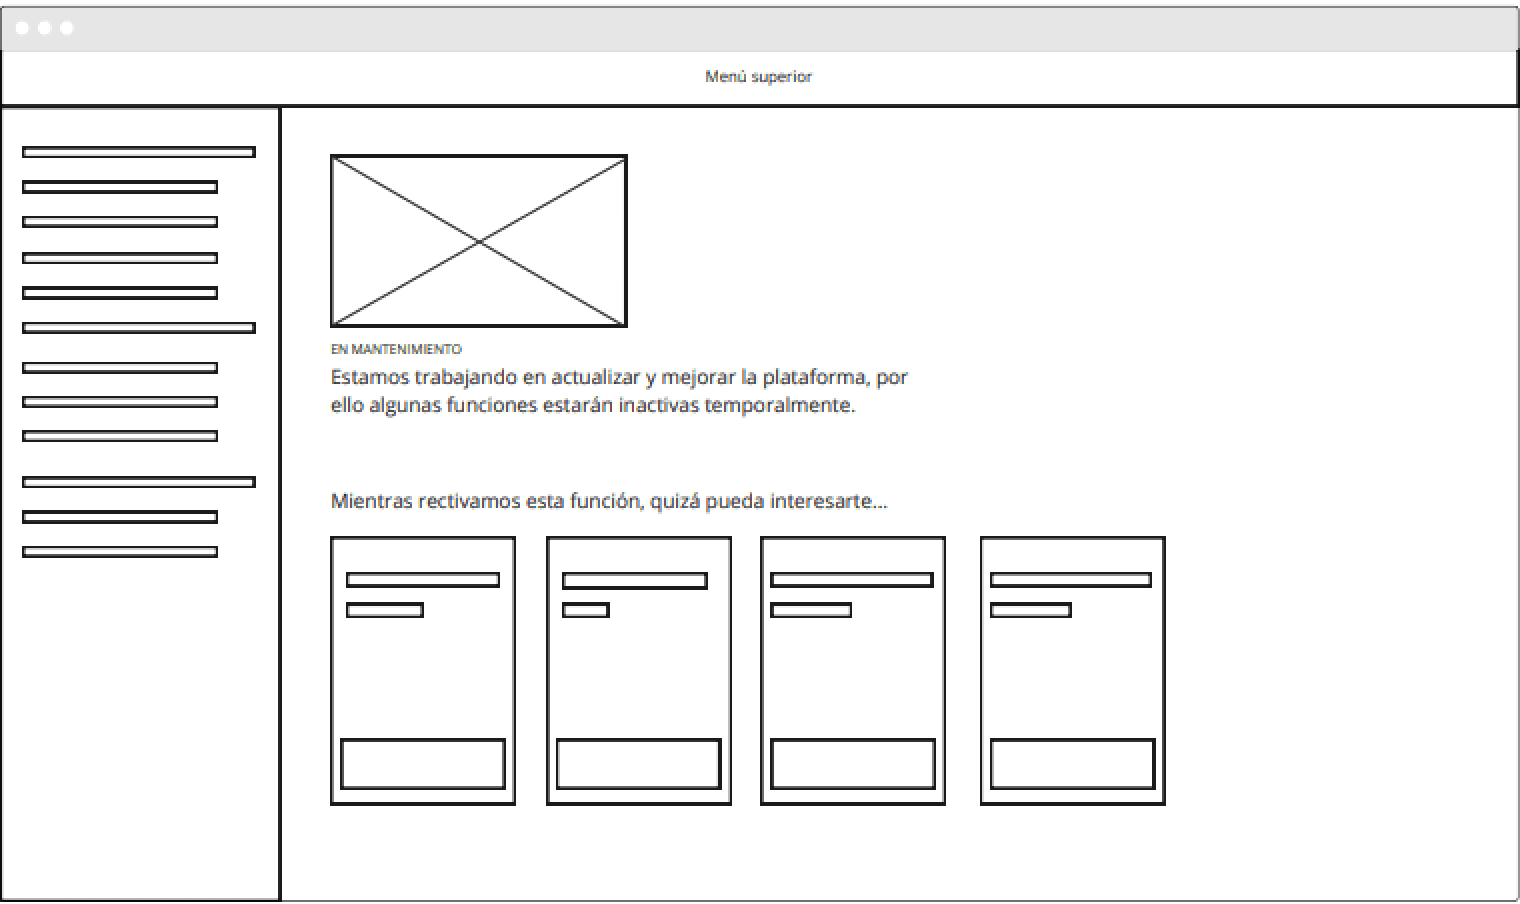
Medium-Definition Prototyping
For this phase, we used the FIGMA program, continuing the process based on what we established earlier in Miro.
LEARNING
As we designed the modal, we realized that we focused too much on the second goal (visiting other areas of the platform), diminishing the importance of the information we wanted to convey. In this case, informing about the temporary closure that was going to occur. Therefore, we corrected the direction and improved the proposal.
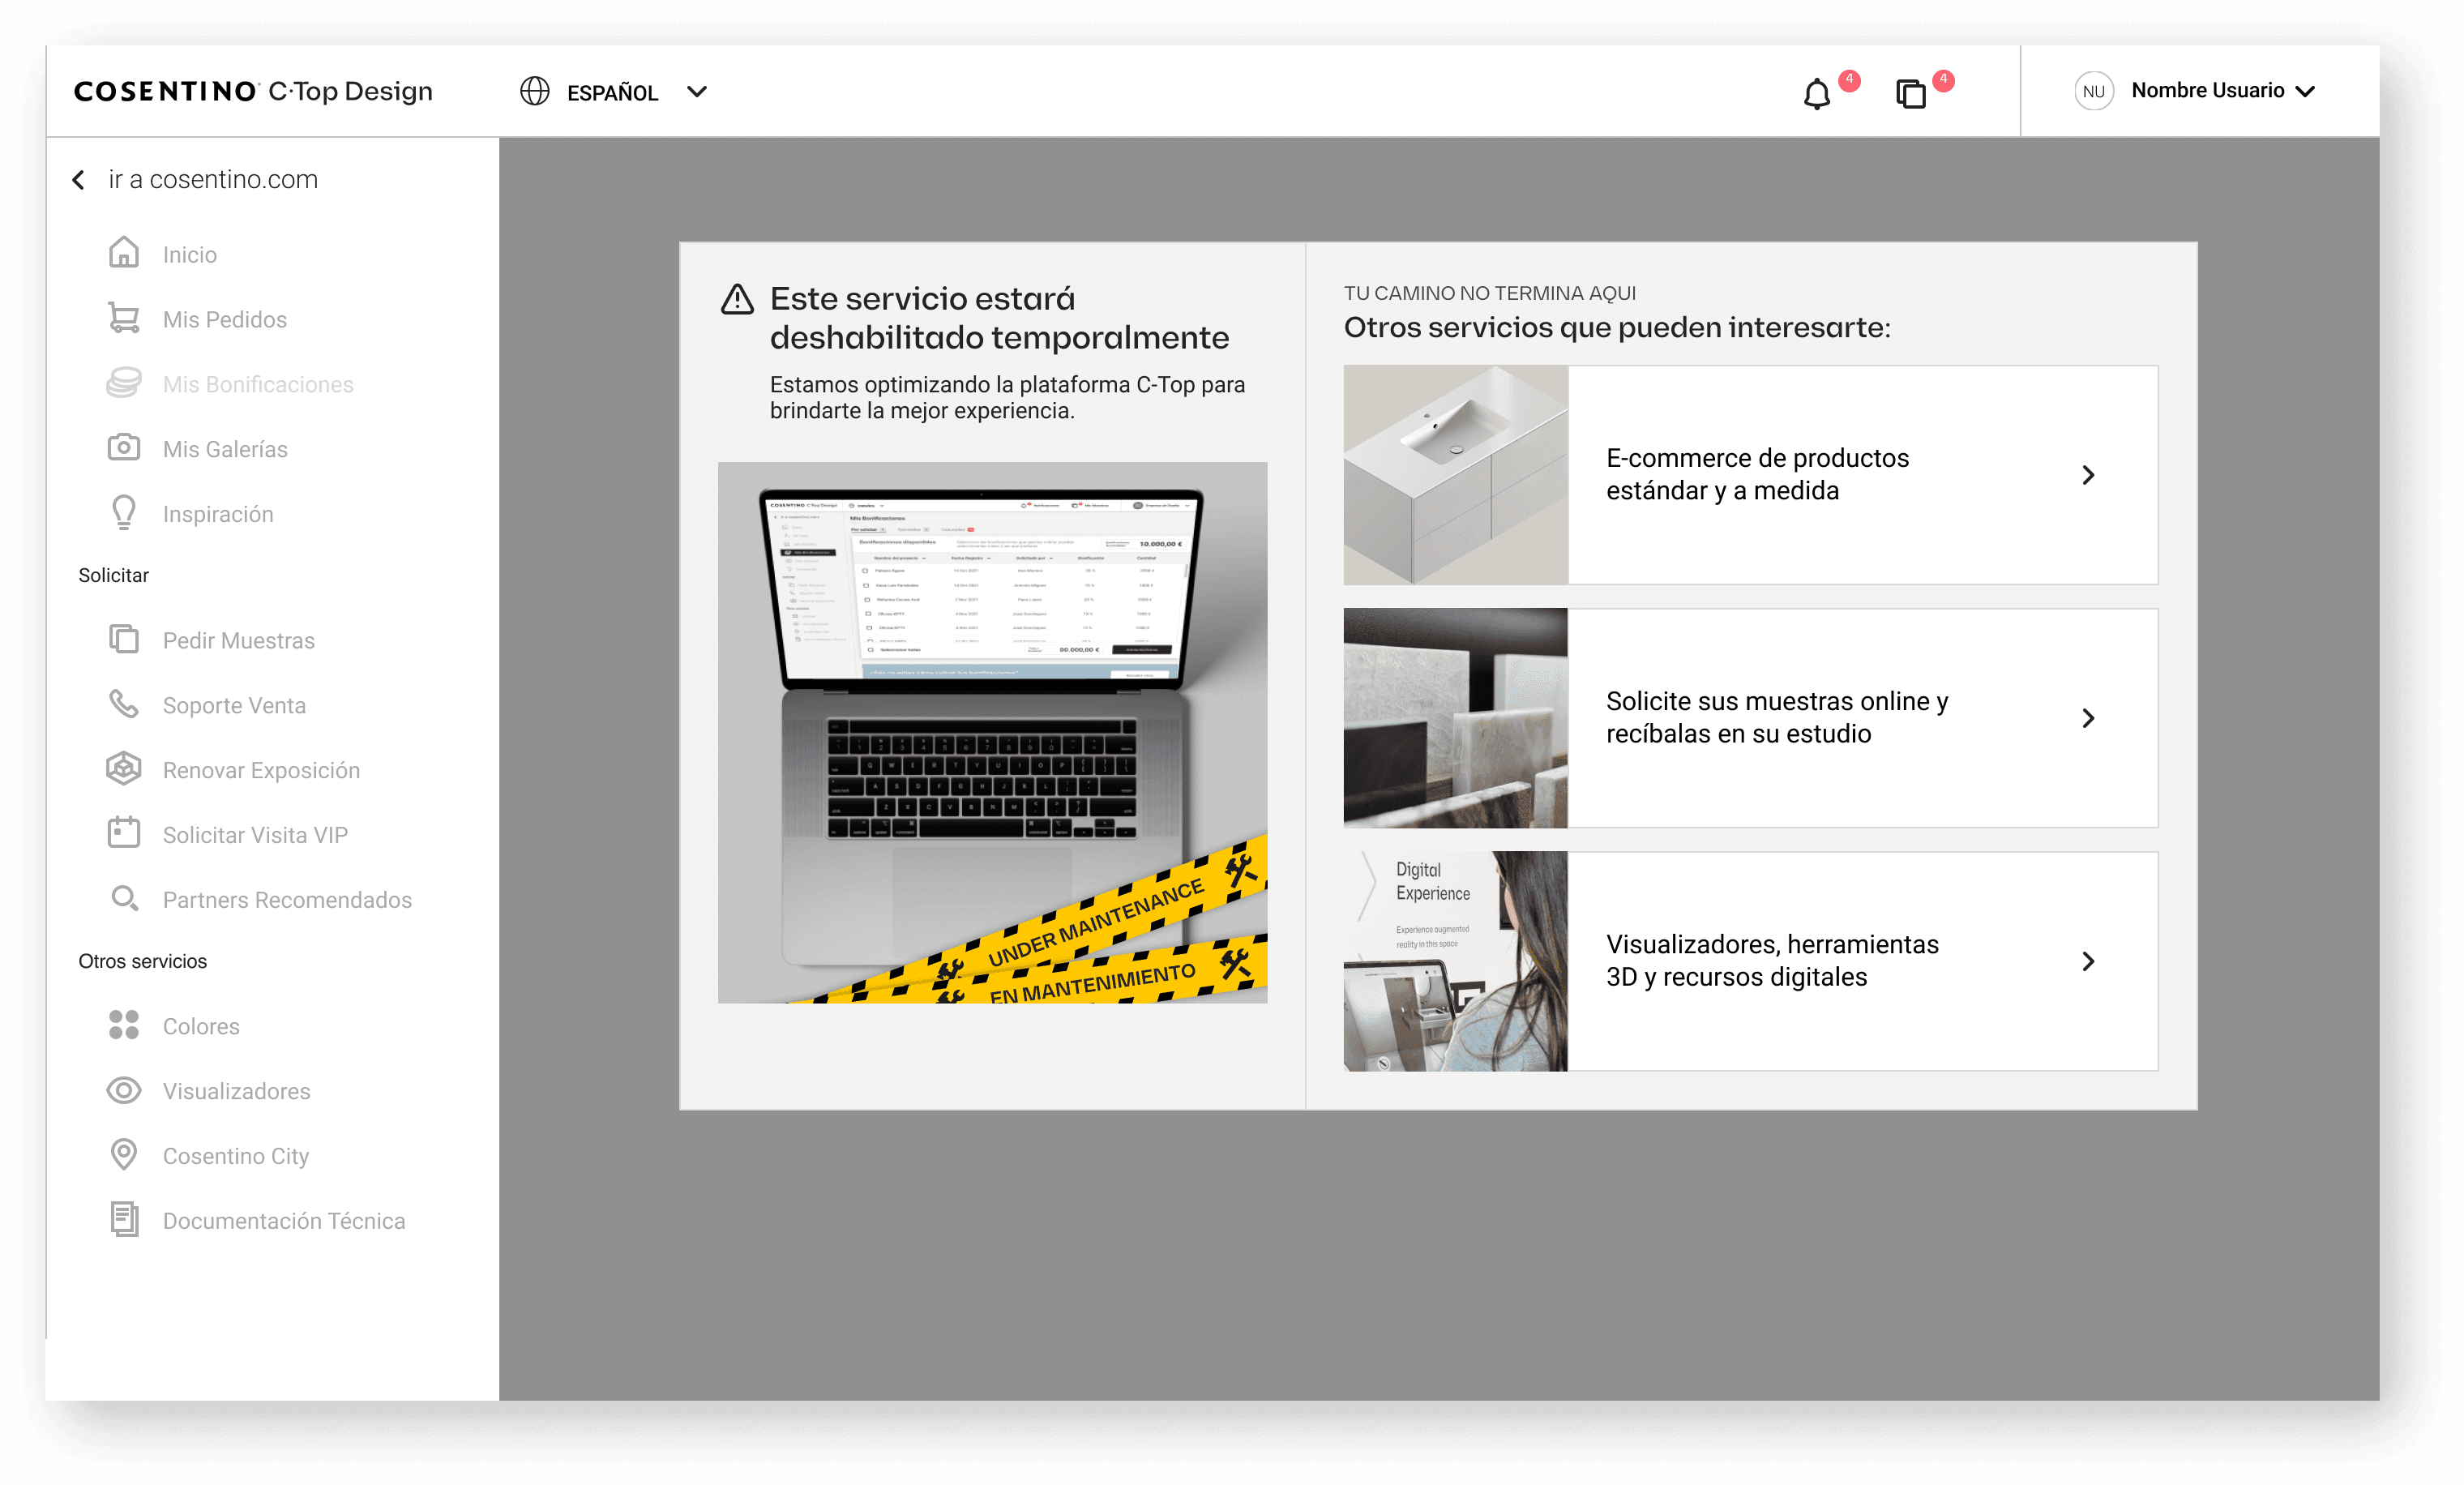
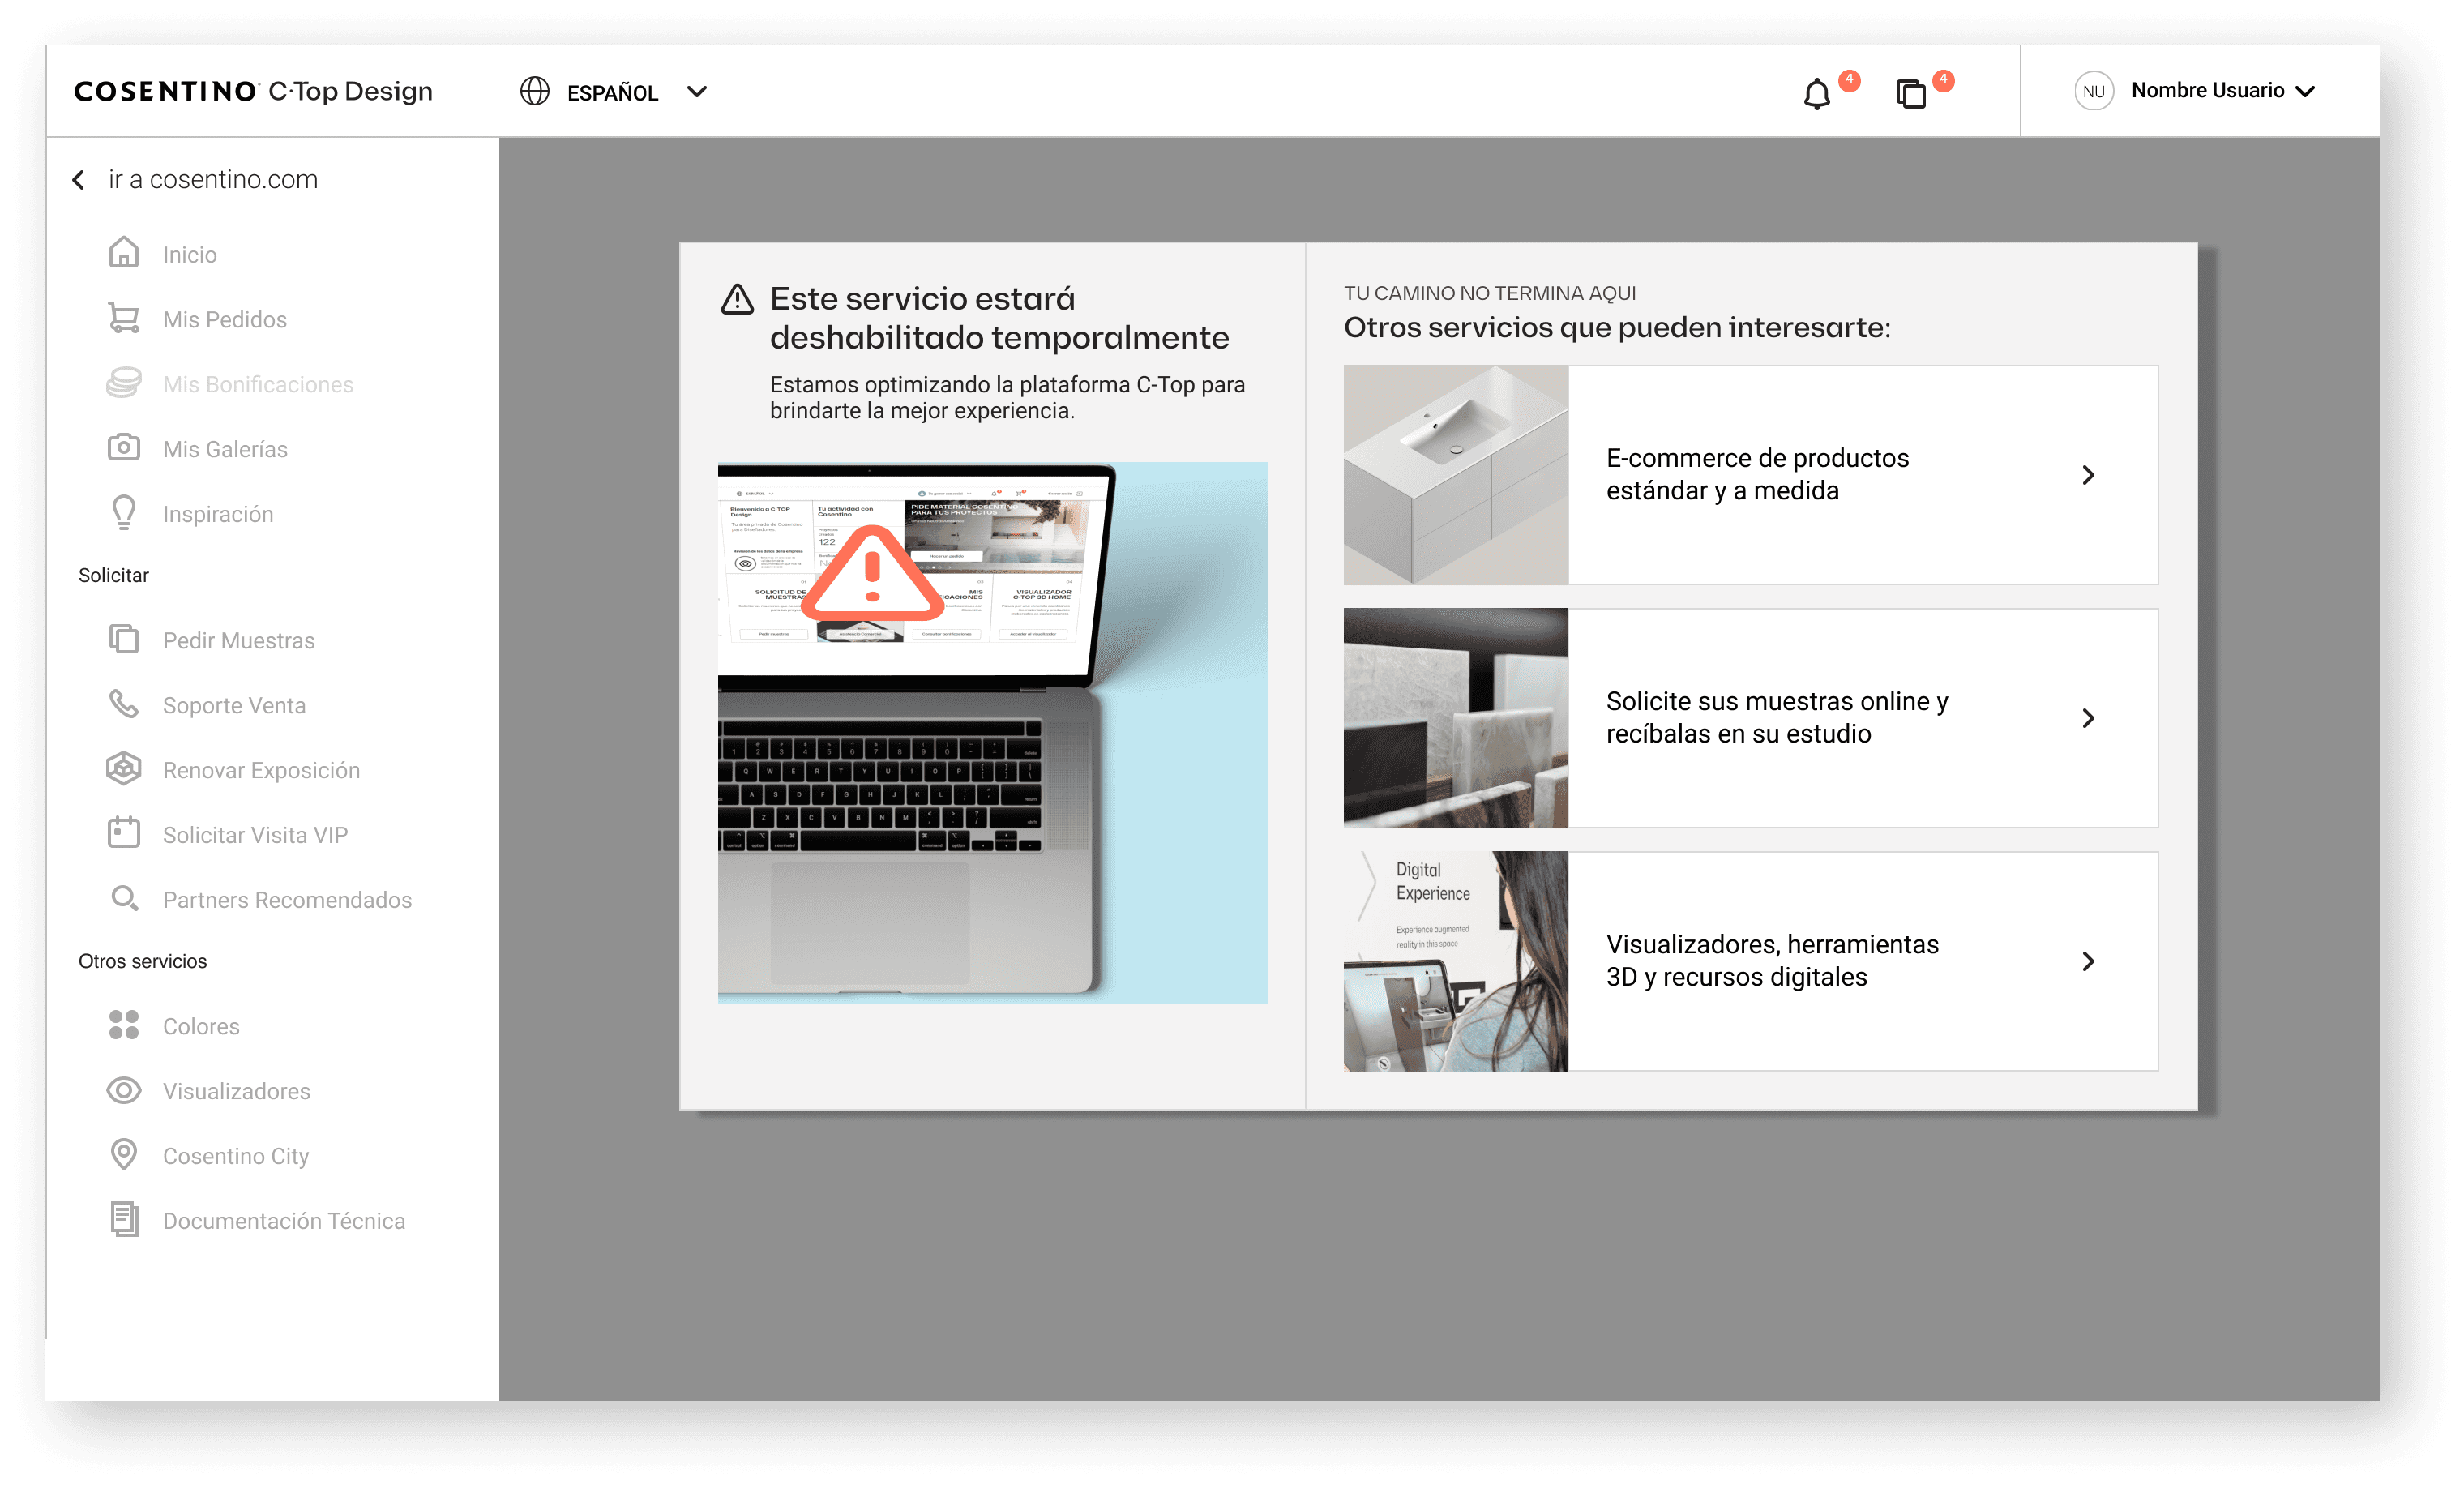
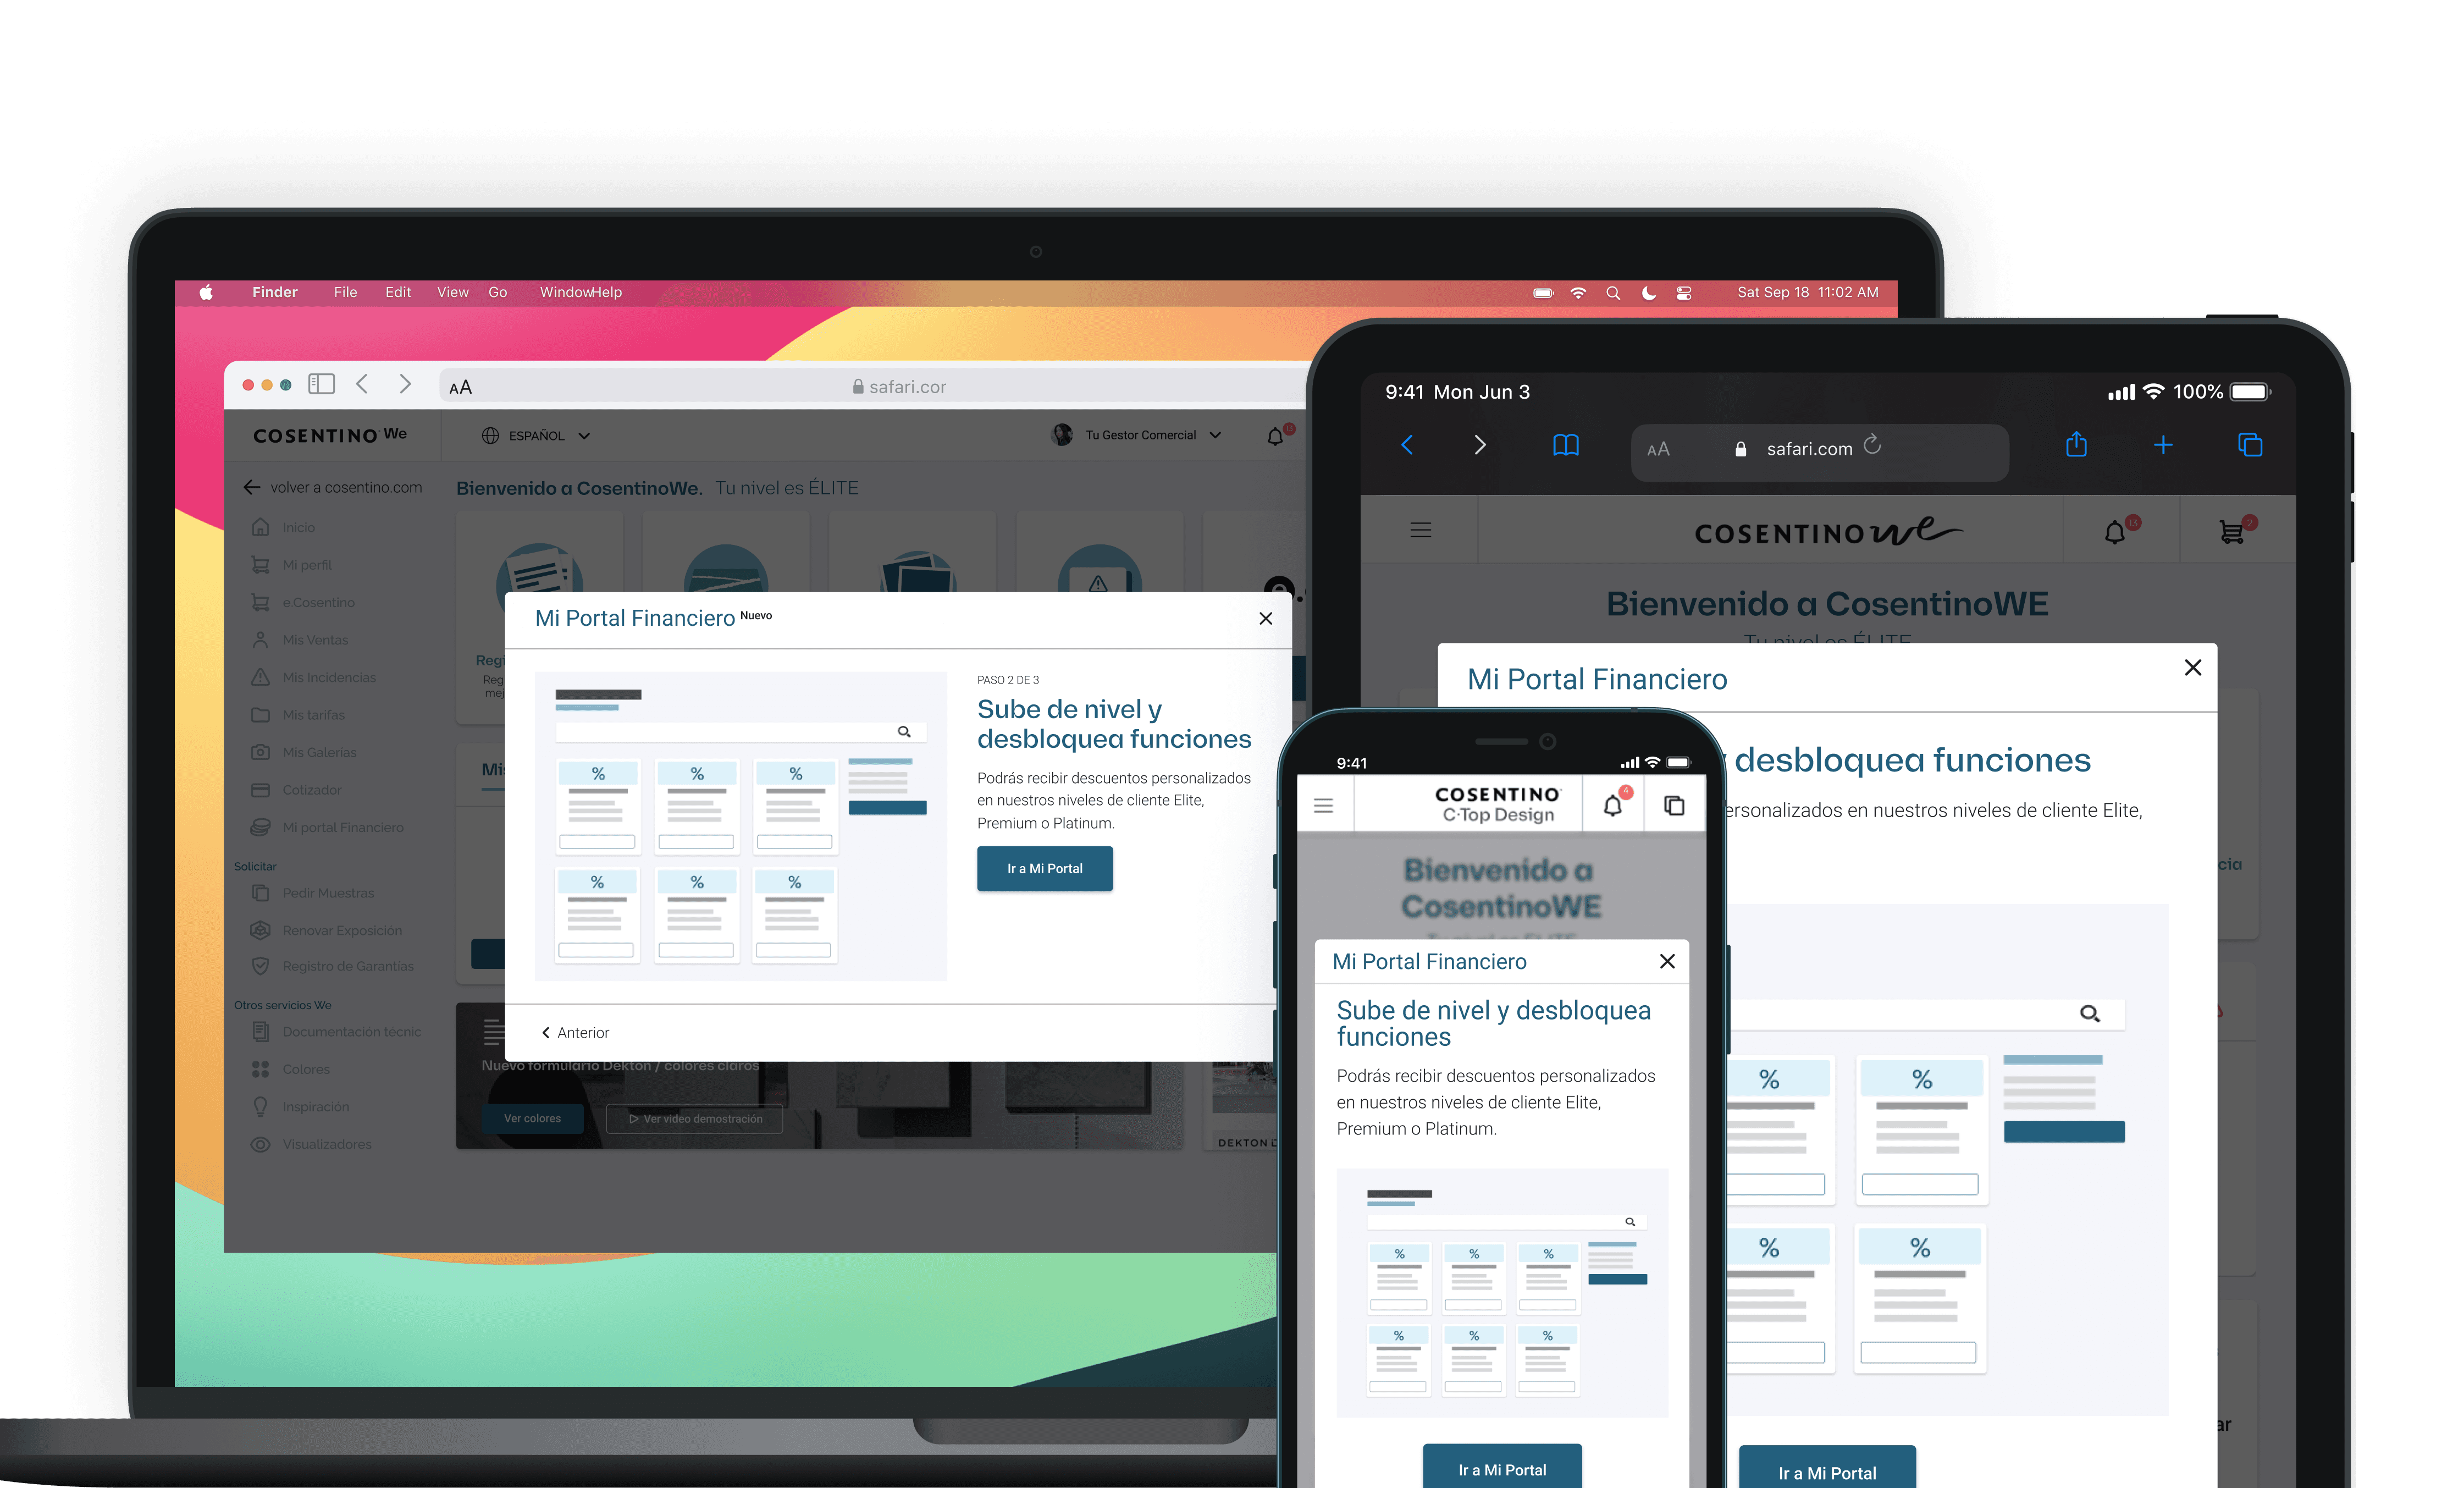
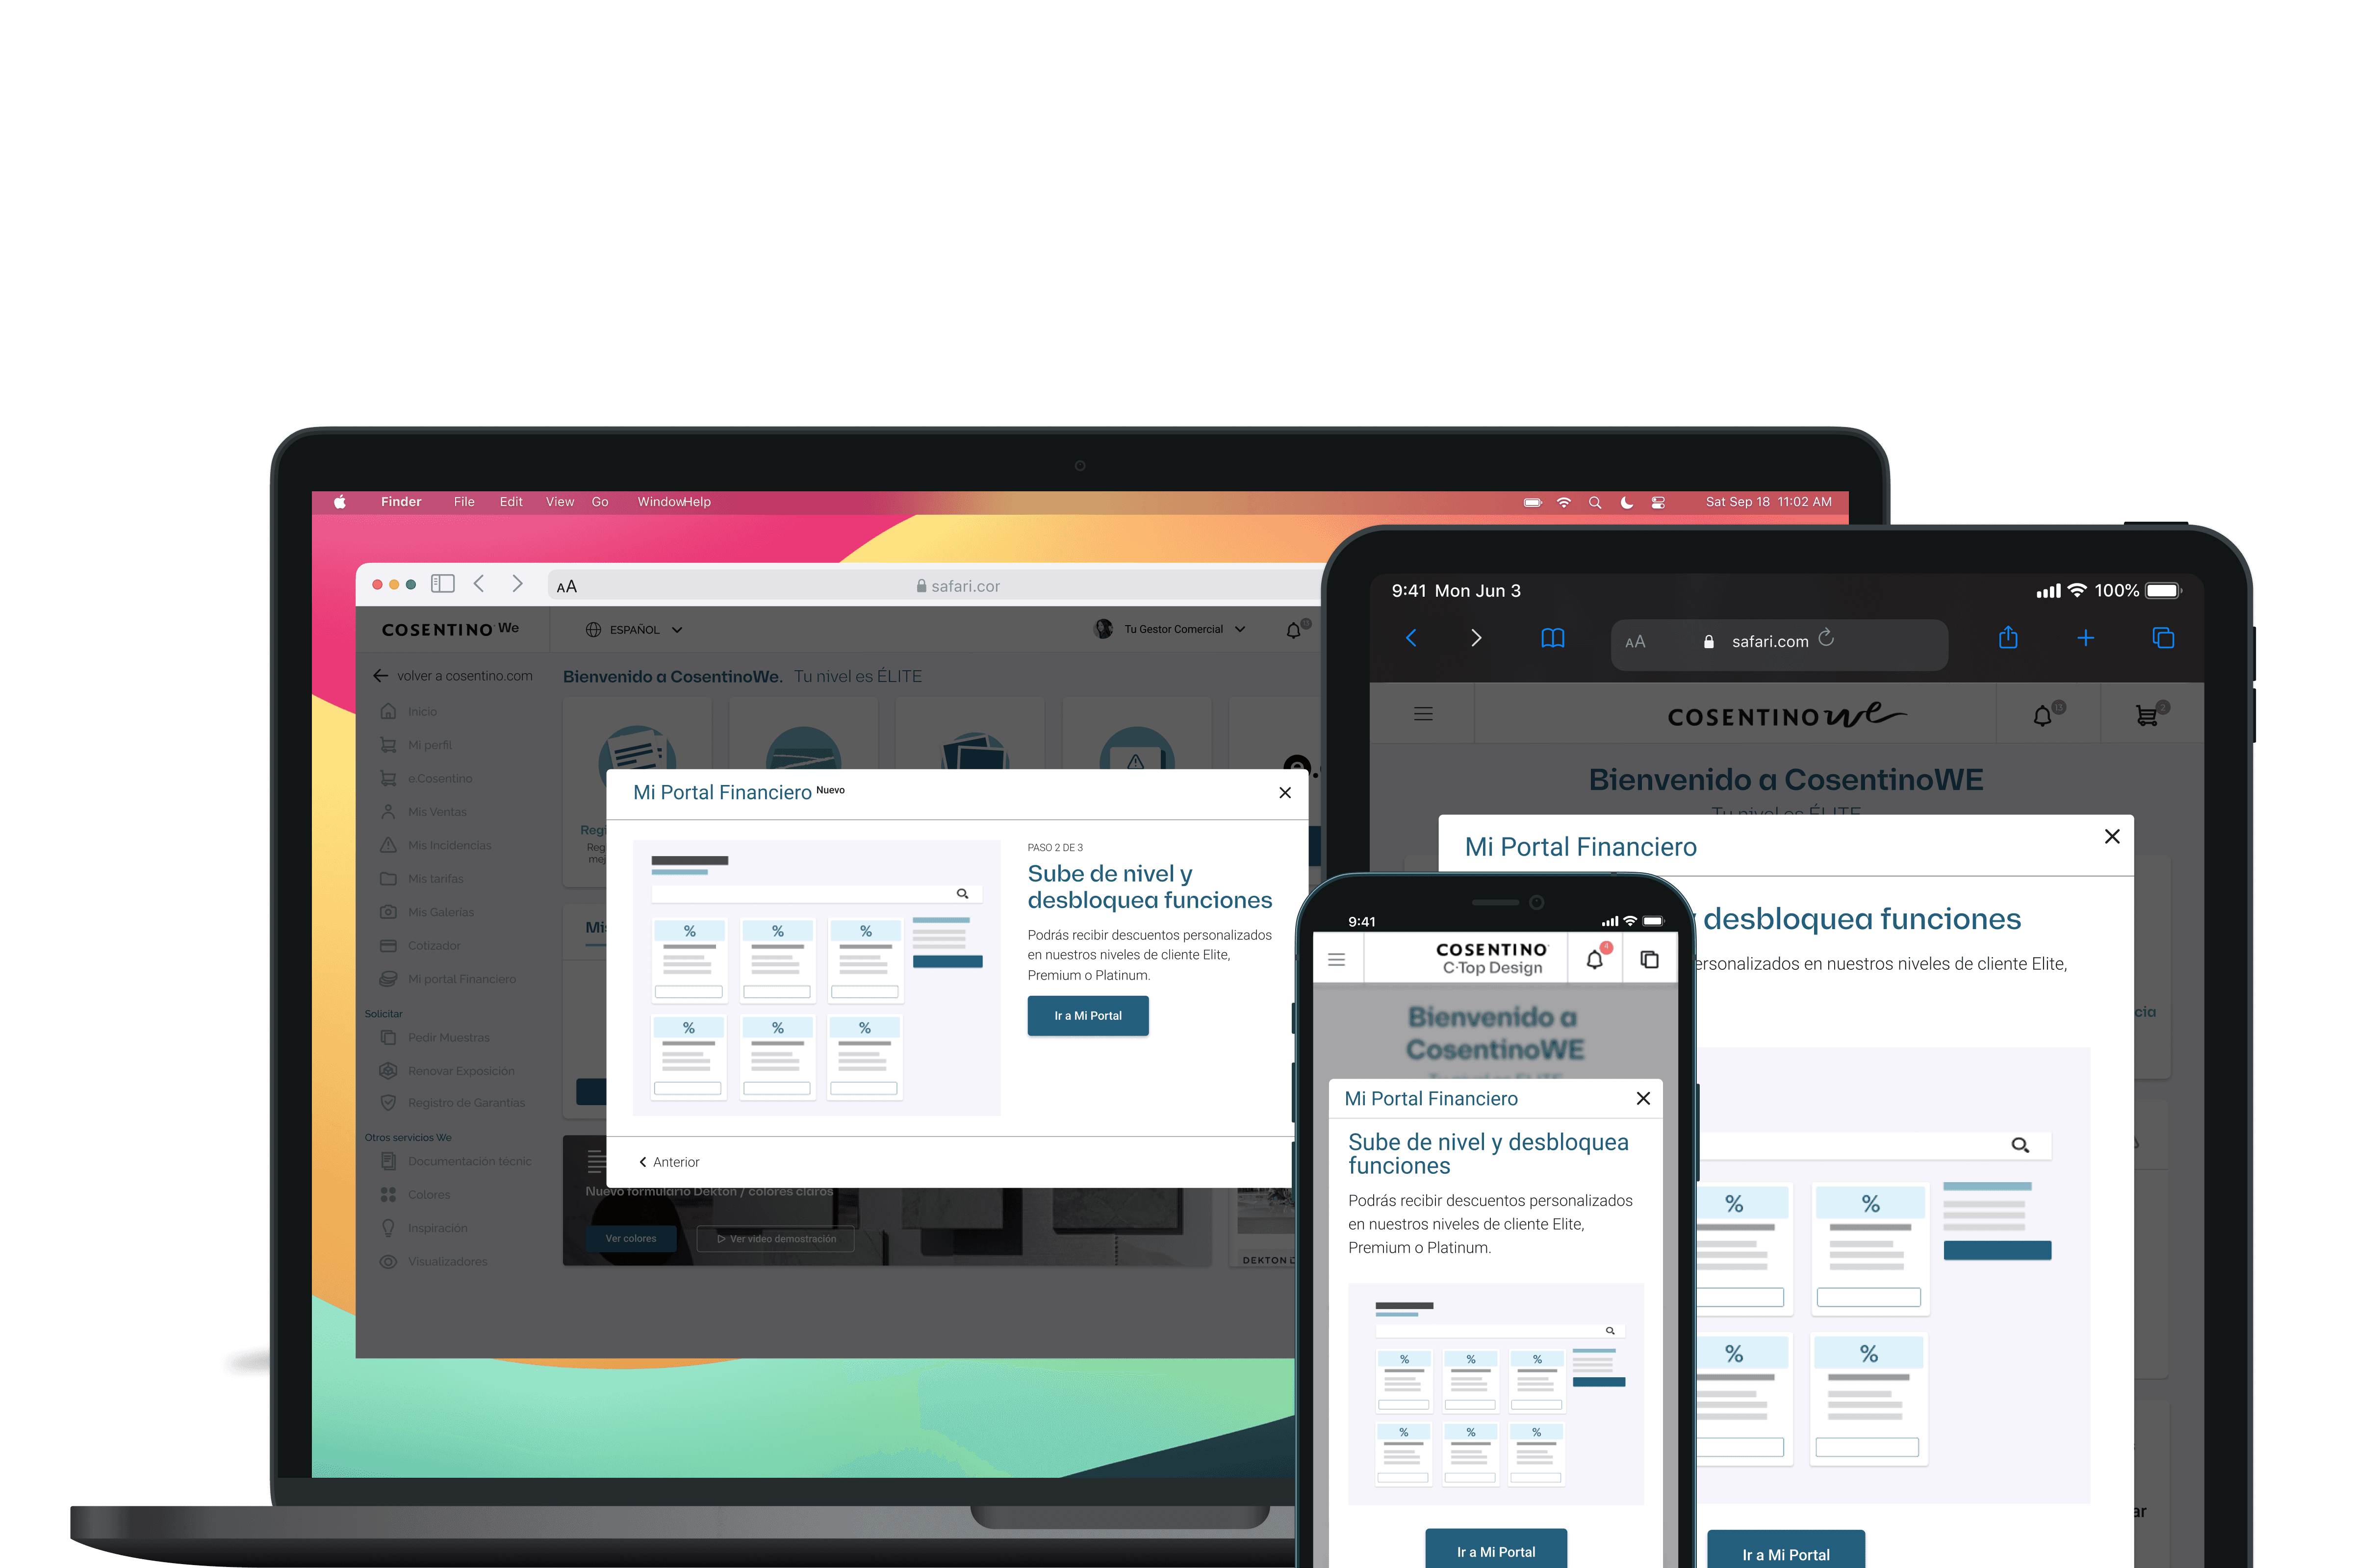
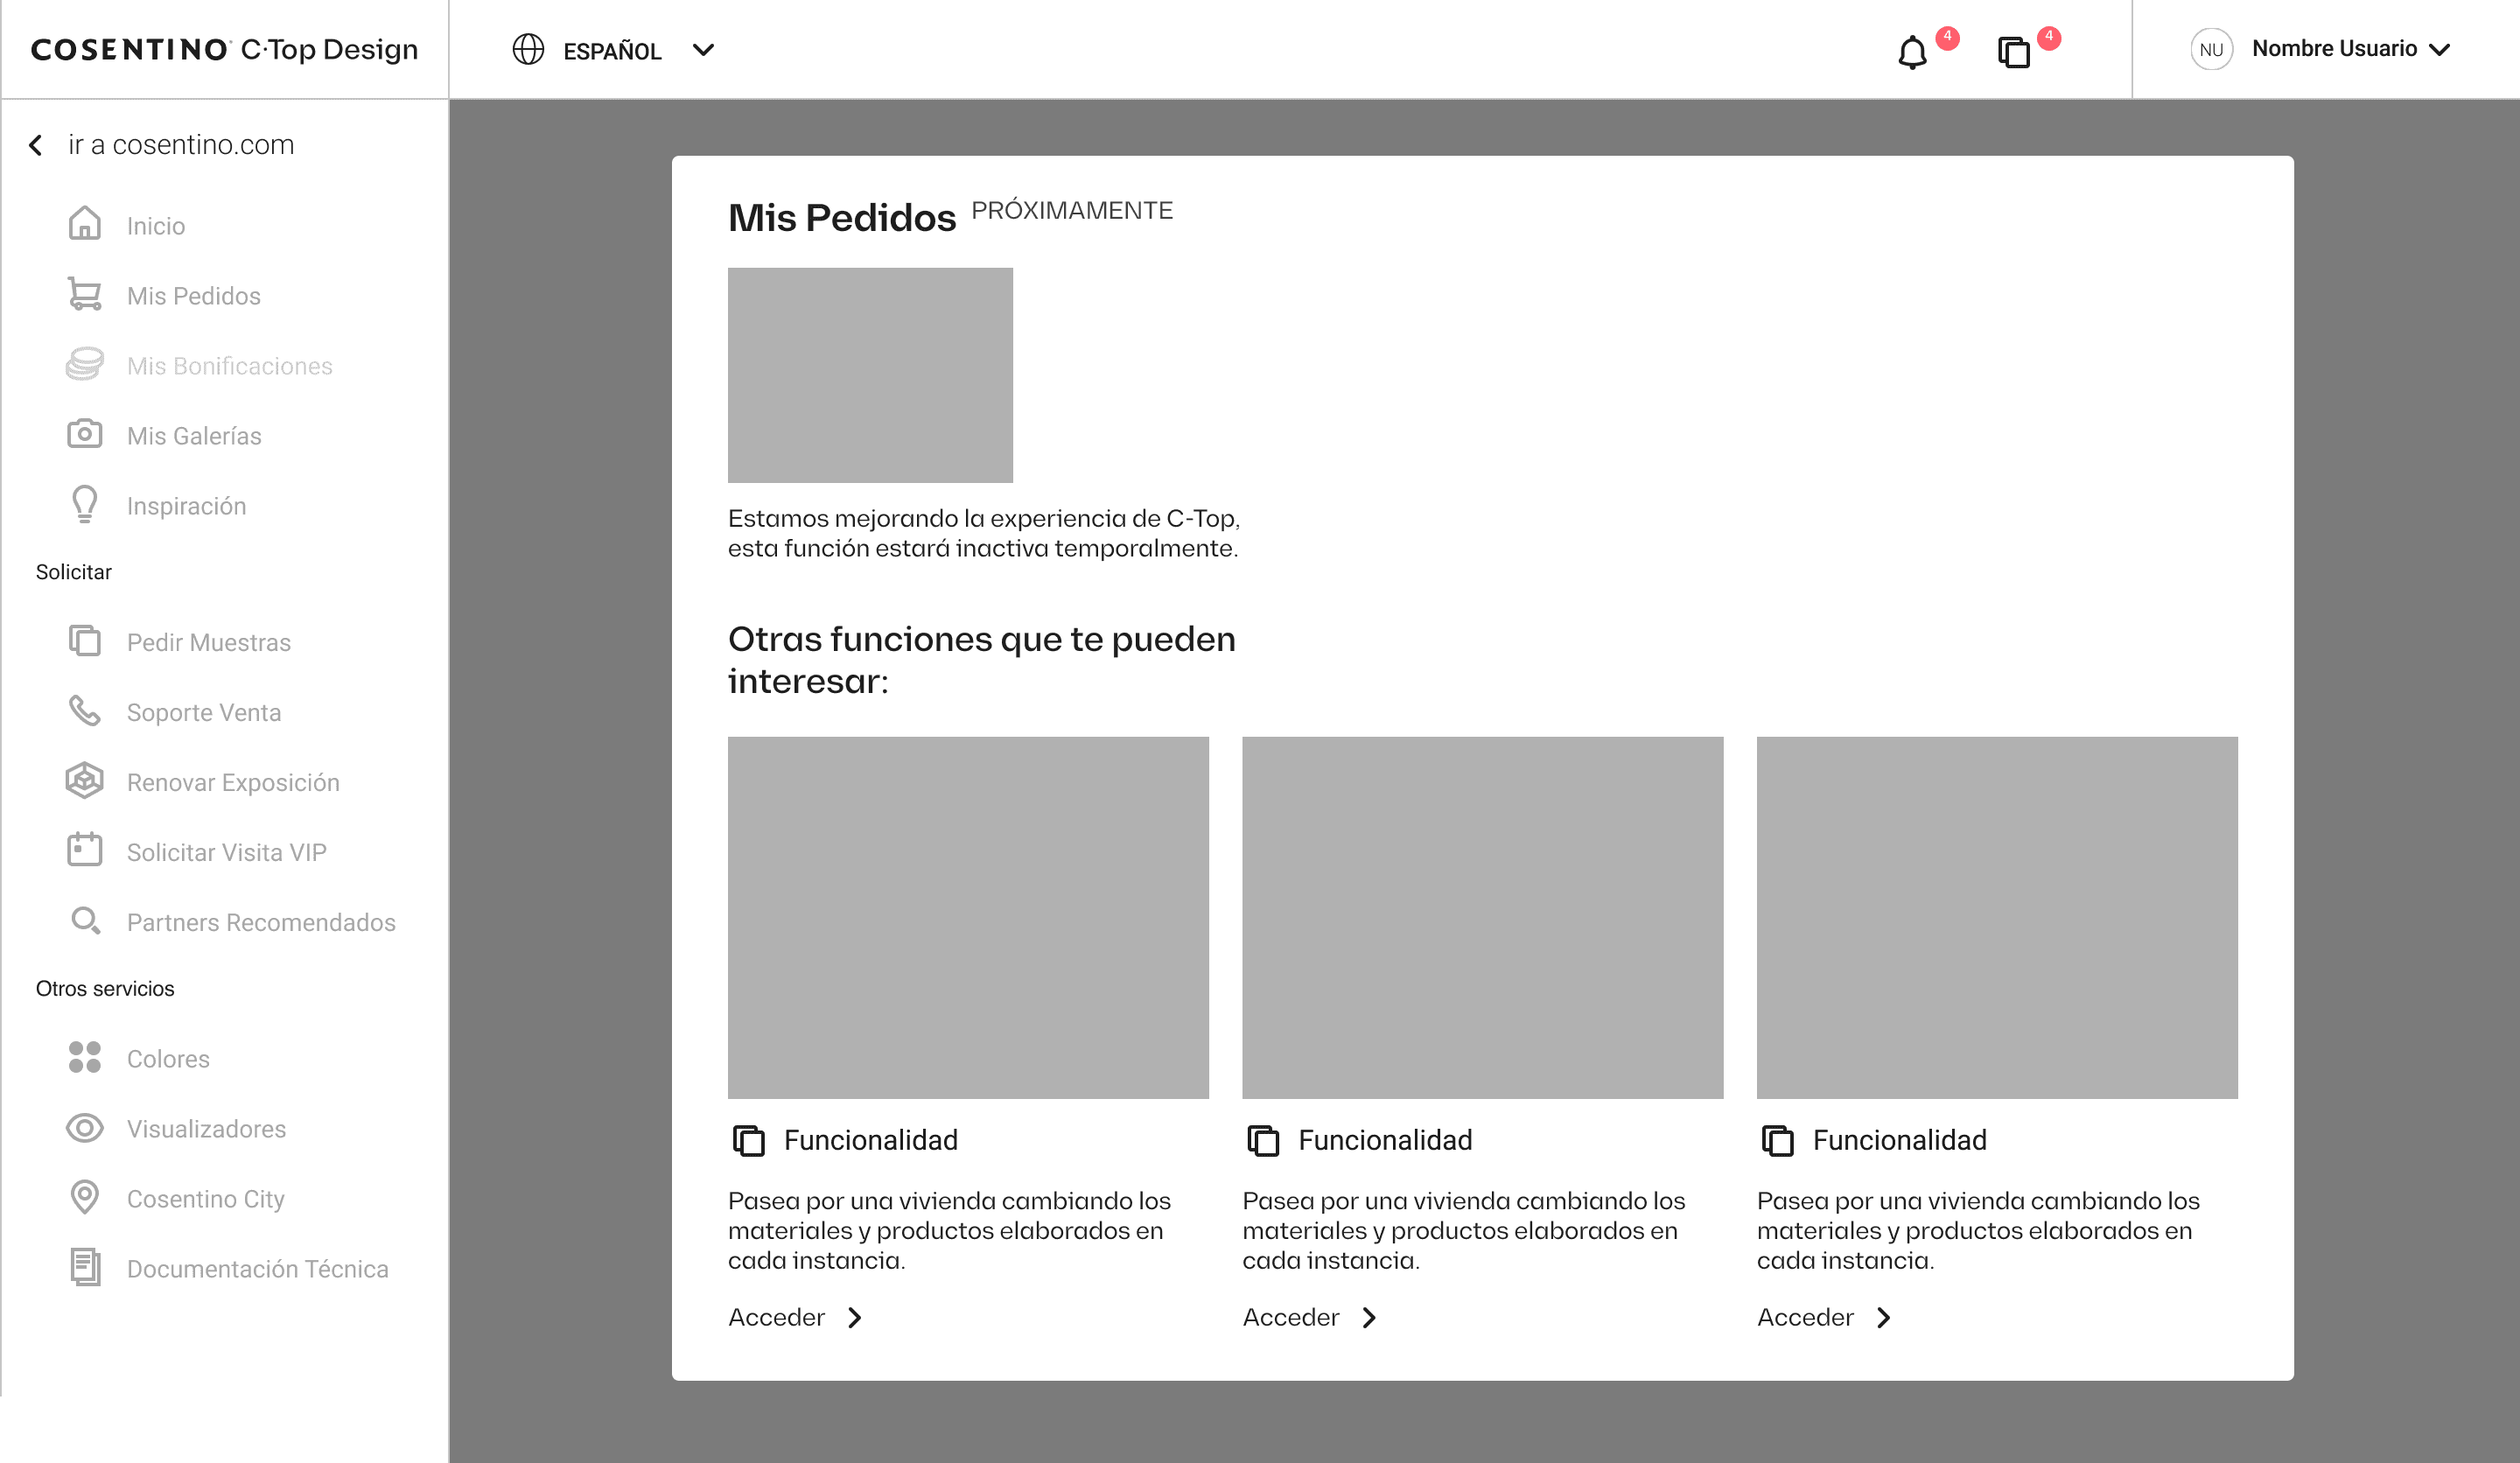
High-Definition Prototyping
After a meeting with the UX team, we defined the final deliverable and validated it with stakeholders before sending it for development.
TEST - PHASE 4
4.User test
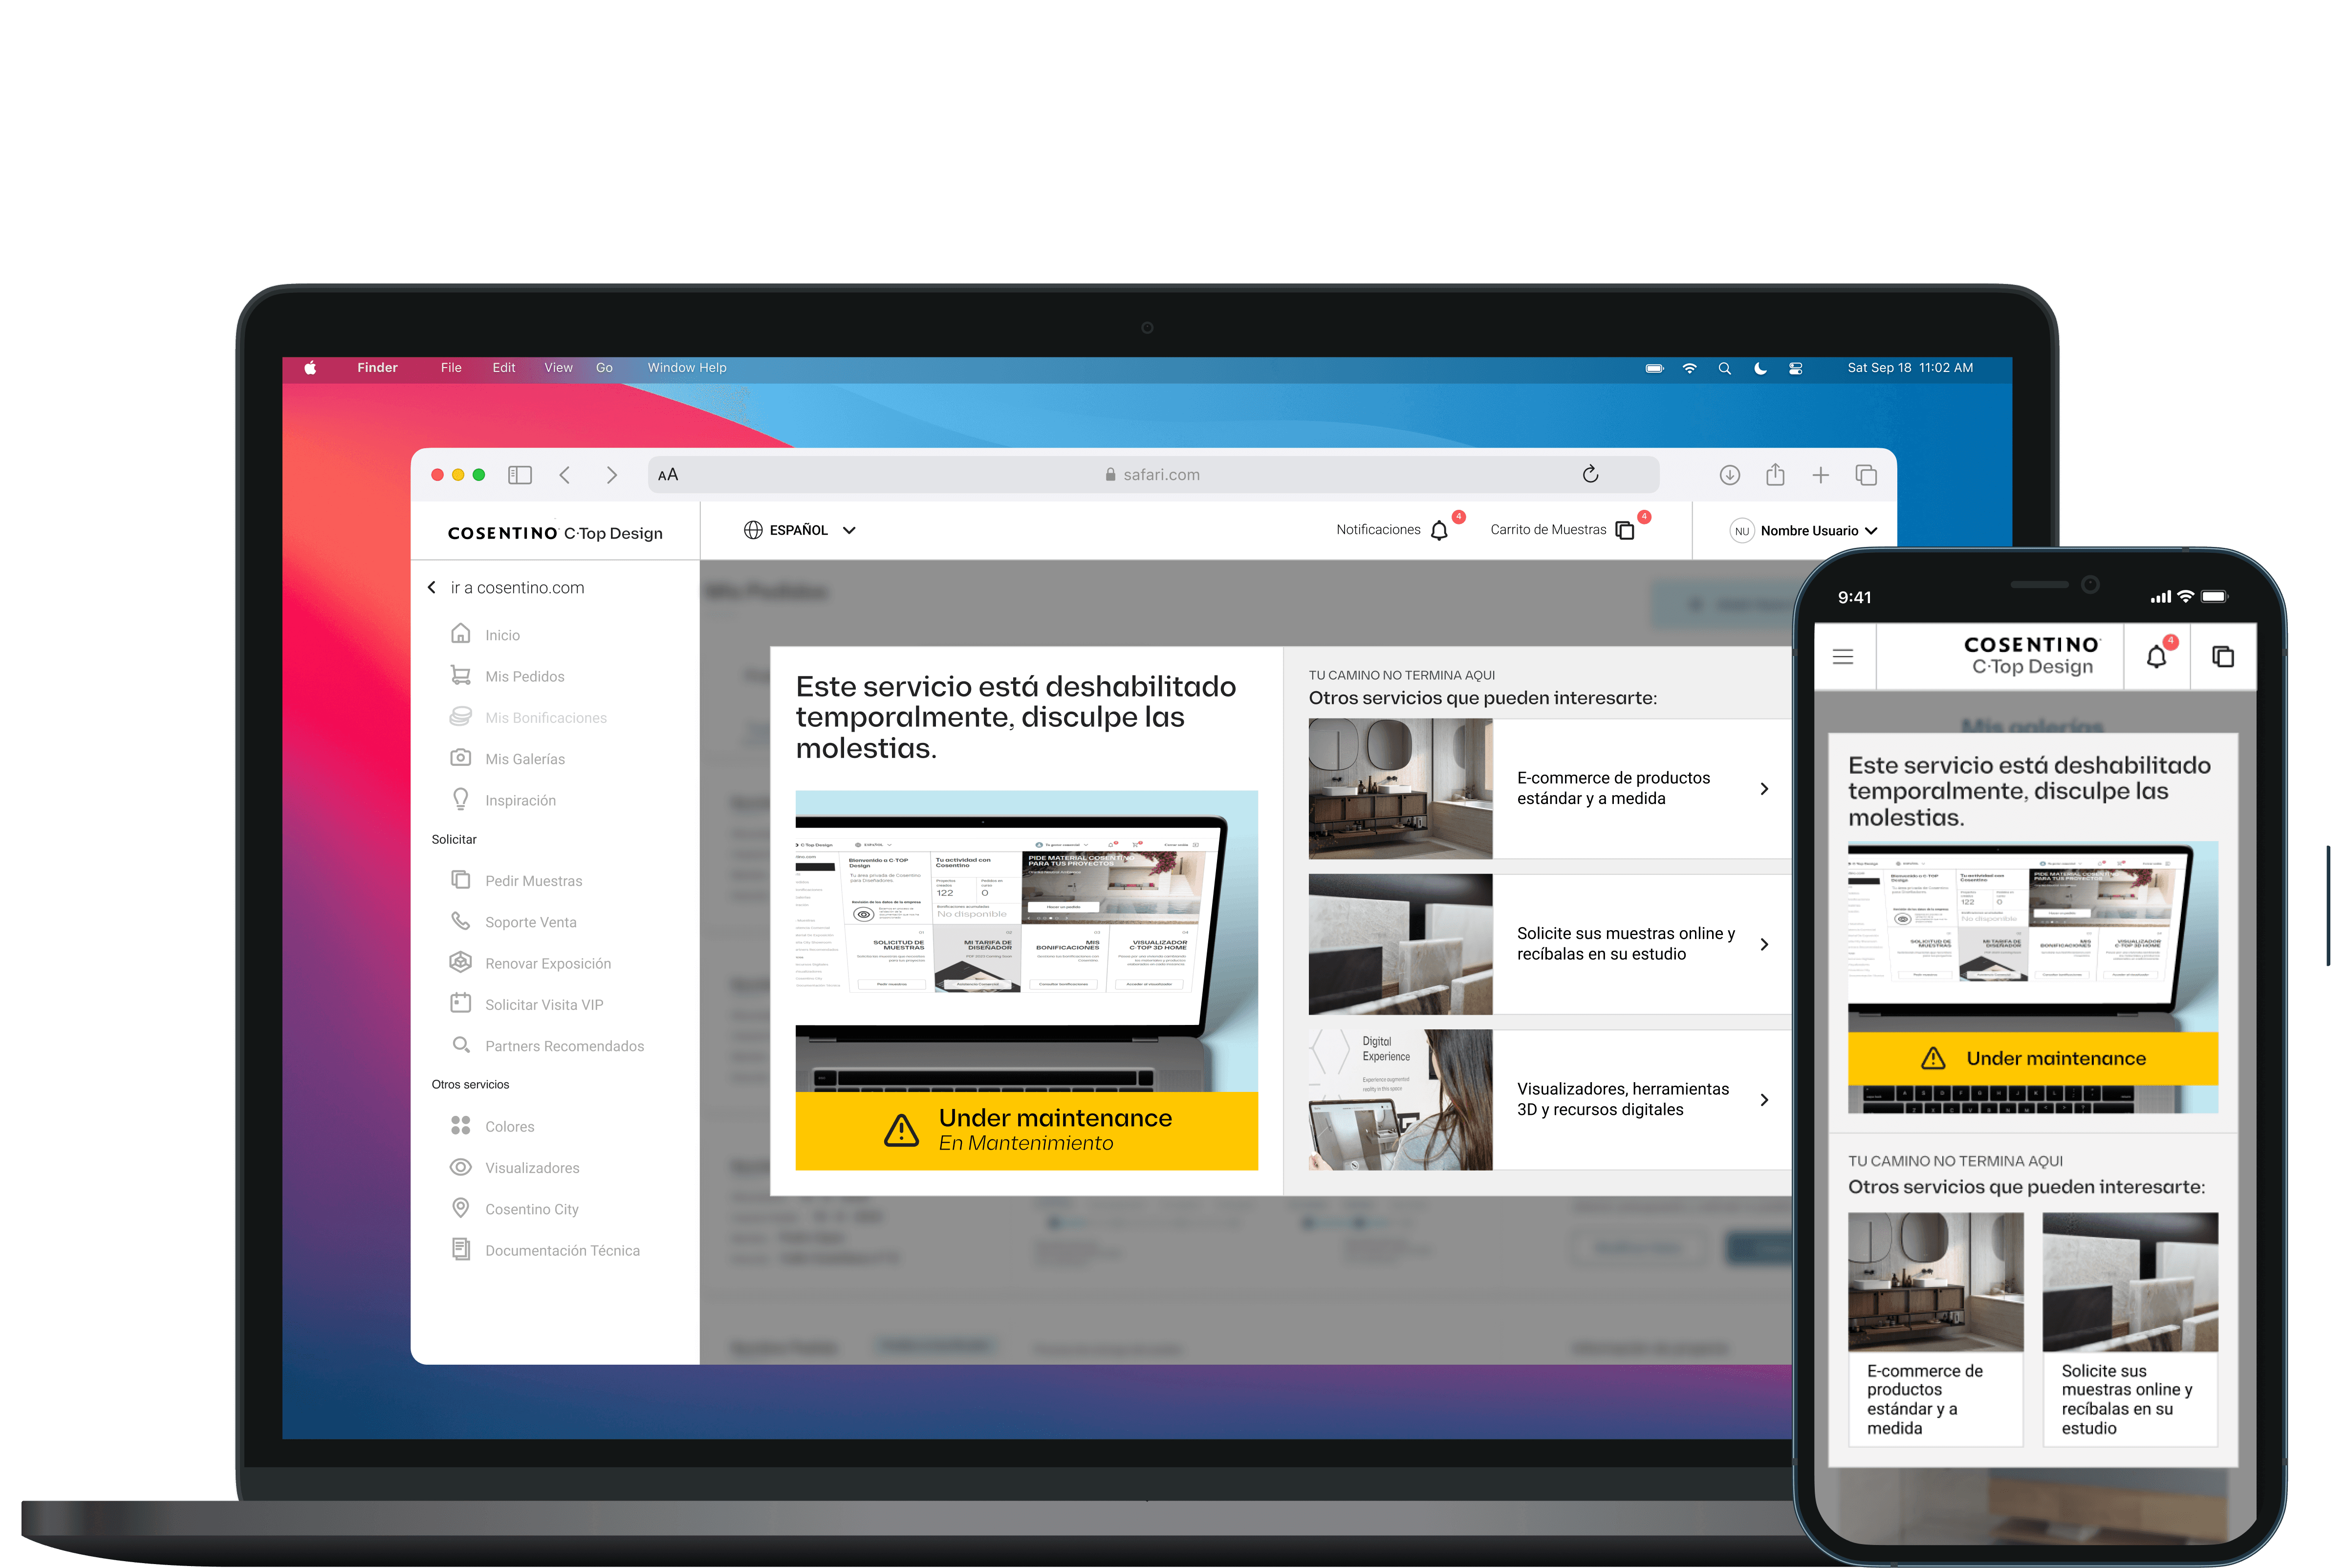
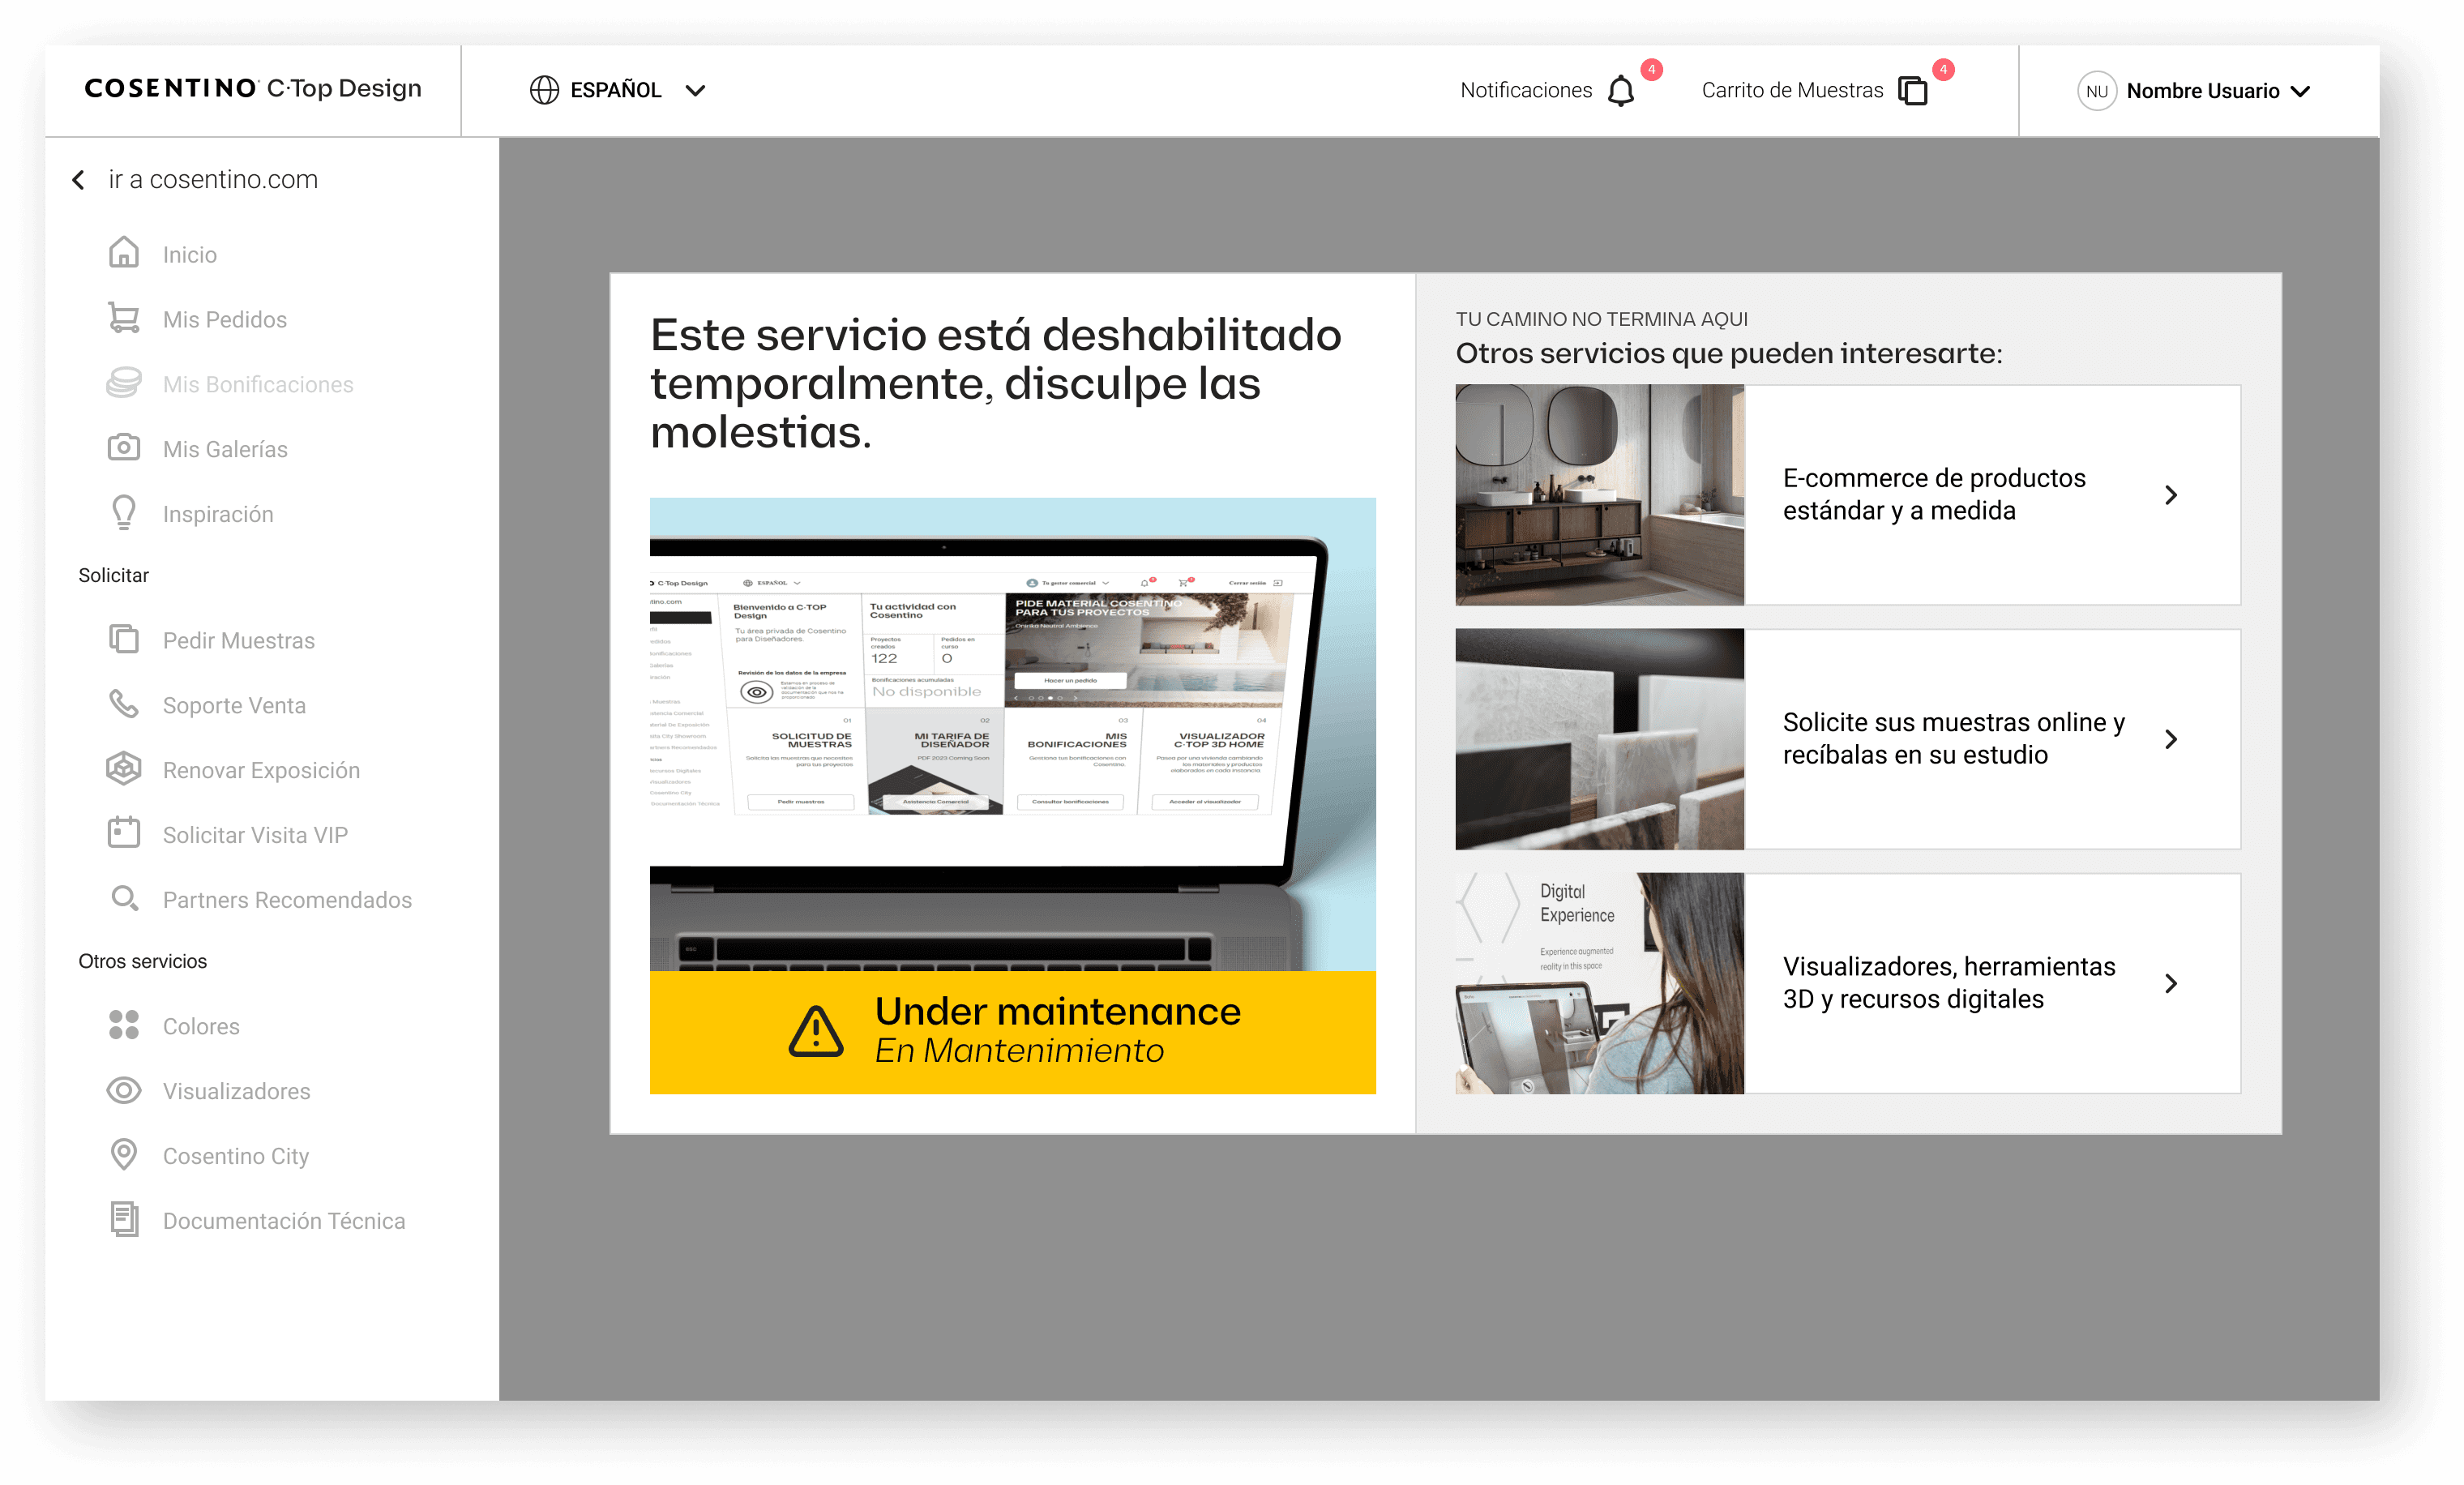
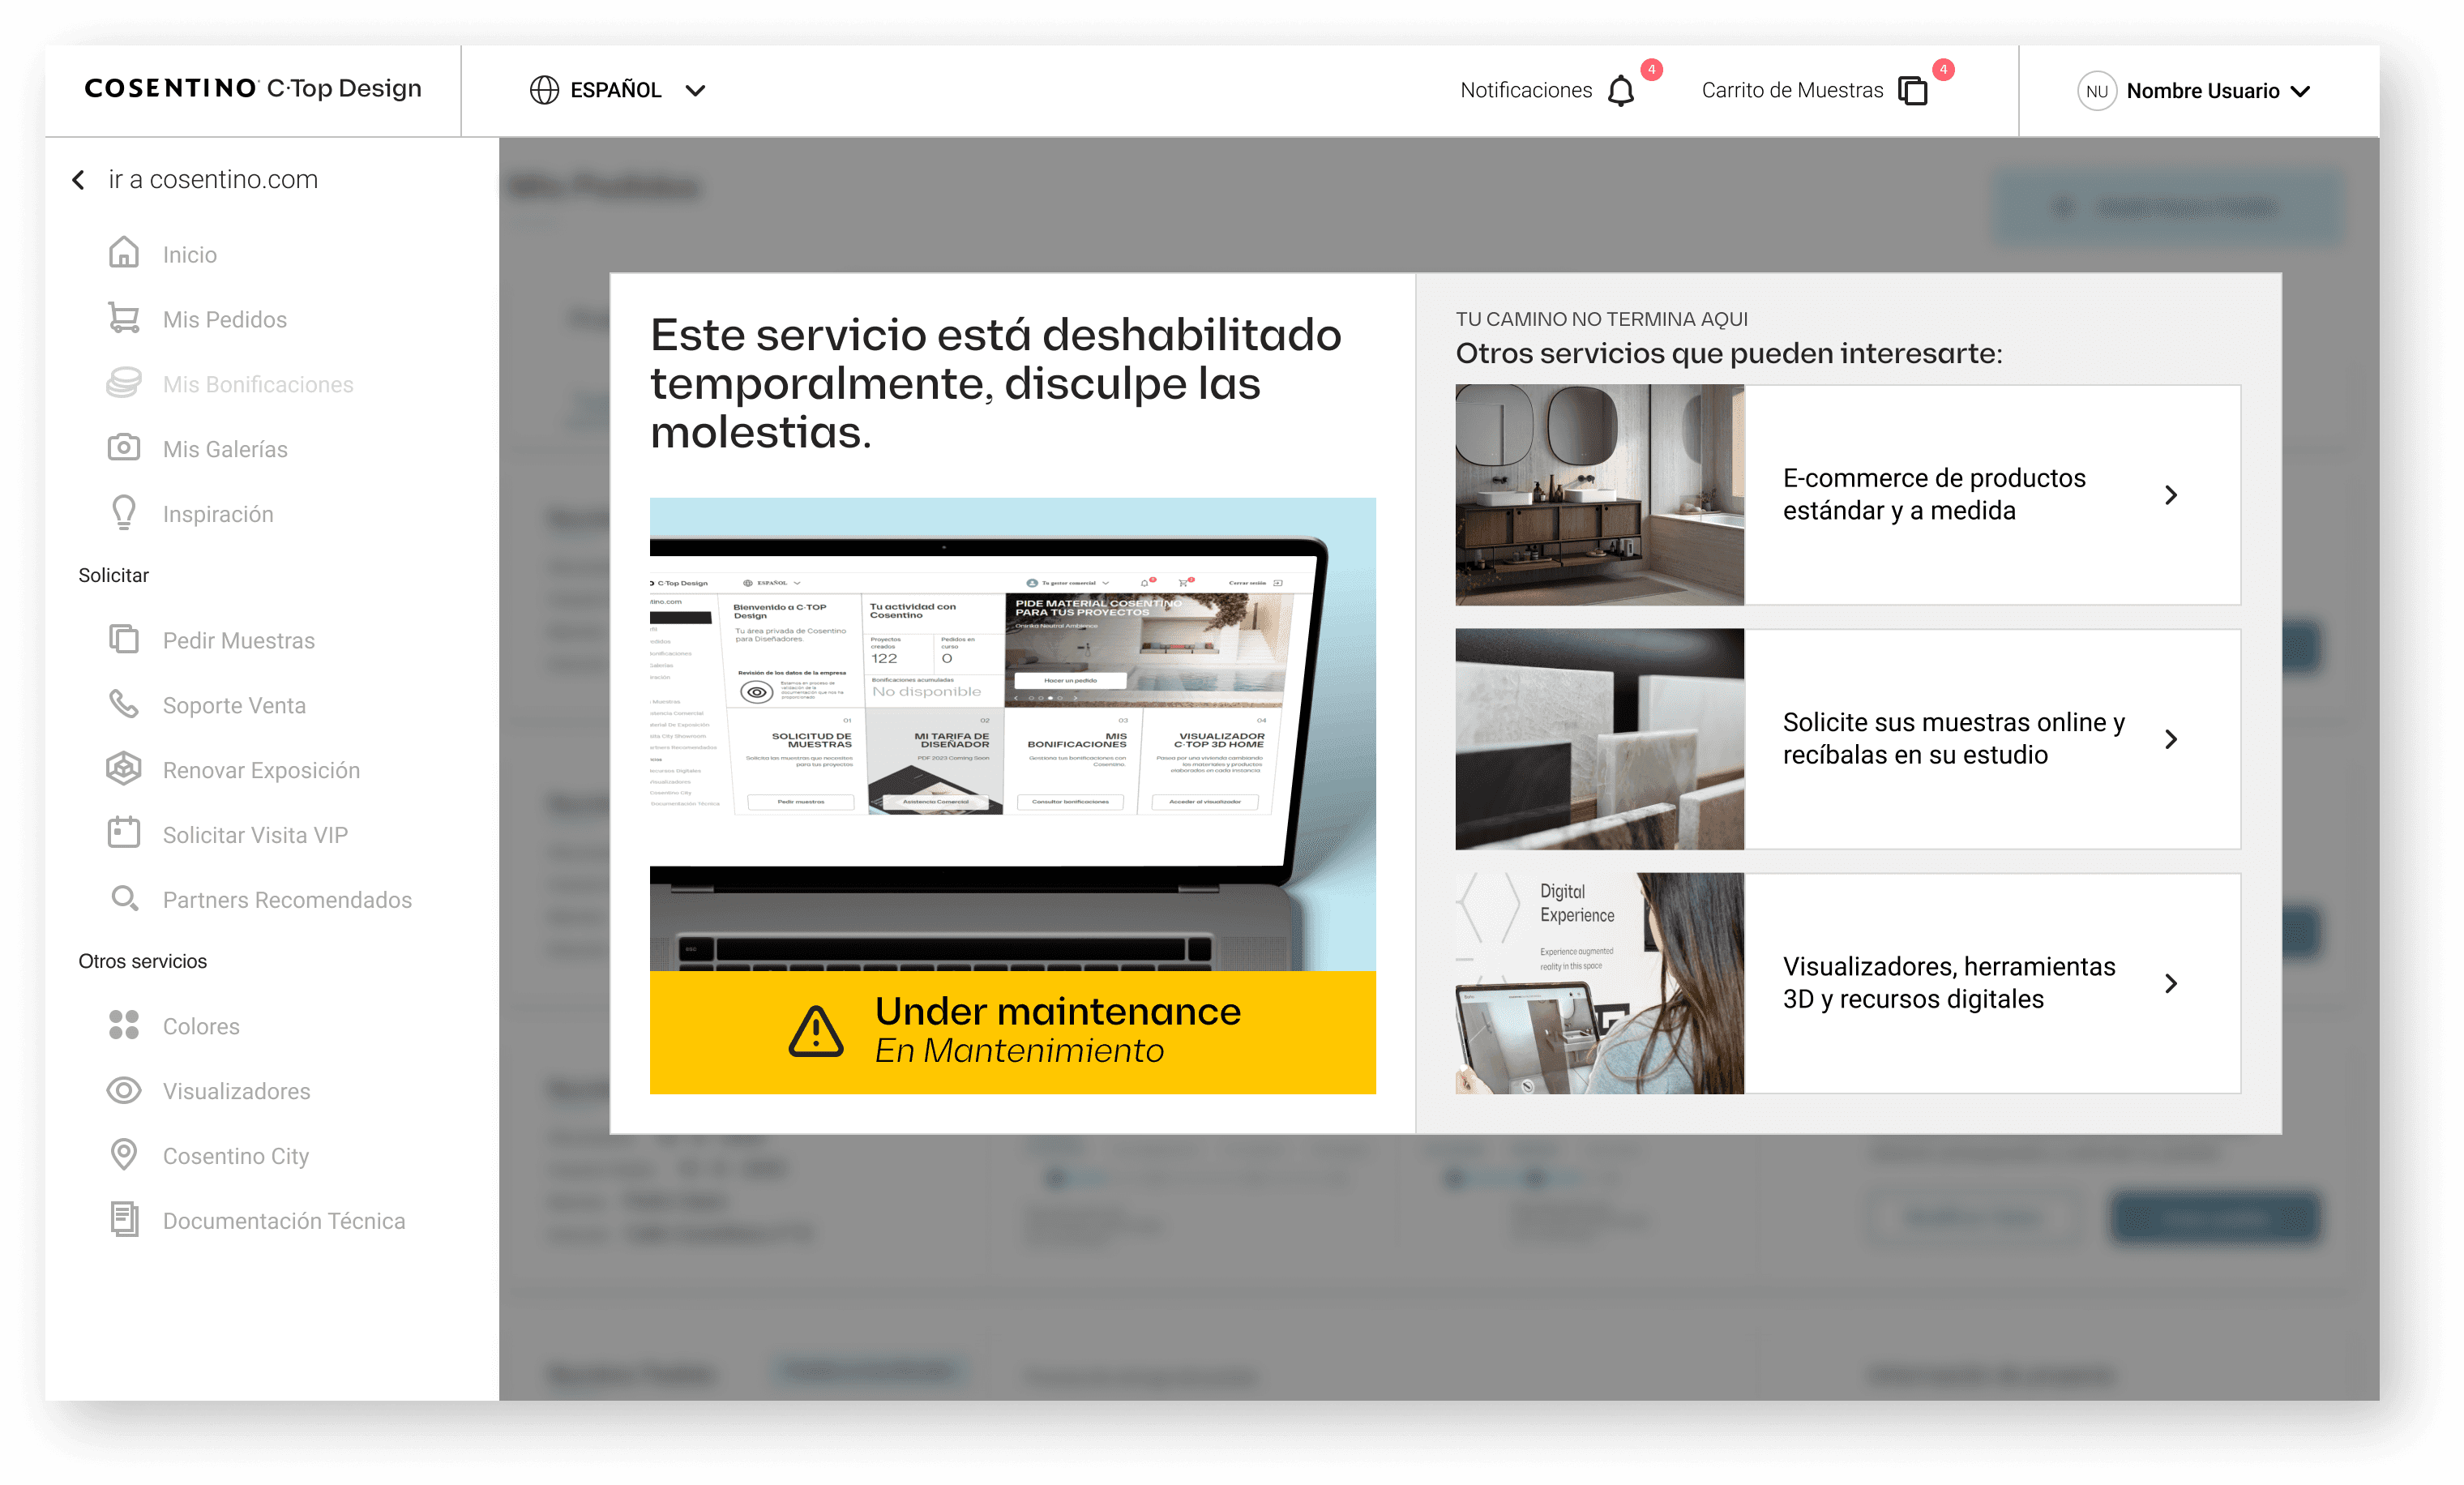
Finally, we added images to the prototype and tested its effectiveness through guerrilla testing. We conducted a 5-second test with three random people, and the result provided insight into the main image. We realized that it did not reflect at first glance what we wanted to convey. We changed the image, repeated the test, and finally achieved very positive results.
IMPLEMENTATION - PHASE 5
5. Final Deliverable and Development
La fecha de entrega llegó, nos reunimos con los stakeholders, mostramos la propuesta y argumentamos las decisiones de diseño. La propuesta de diseño fue aceptada, compartimos el archivo con el equipo de desarrollo y finalmente se llevó a cabo la implementación en la plataforma.The delivery date arrived, we met with stakeholders, presented the proposal, and explained the design decisions. The design proposal was accepted, we shared the file with the development team, and the implementation on the platform was carried out.
extra
6. Summary and Learning
hrough this short but intense case study, I learned that it is possible to carry out a design process from start to finish in a few hours. We went through problem understanding, ideation and prototyping, user testing (guerrilla testing), and finally, development.
Through this project, I understood that it is much better to conduct a small user test than not to do it at all. Working for several hours, days, or even months on projects makes our eyes accustomed to what we are seeing. However, for a person who approaches with fresh eyes, without biases, it facilitates the identification of improvements.